You are currently viewing documentation for CompuTec AppEngine 3.0 (.NET 8).
If you are working with older environments, you may need the documentation for CompuTec AppEngine 2.0 based on .NET Framework: https://learn.computec.one/docs/appengine/2.0/.
Please note that CompuTec AppEngine 2.0 will be supported only until December 31, 2026. After this date, the product will no longer receive regular support or maintenance updates. Read more
As CompuTec AppEngine 3.0 introduces a new architecture, all CompuTec components must be updated together to ensure full compatibility.
Please review the CompuTec AppEngine 3.0 documentation before starting your installation or upgrade process.
Source Manager
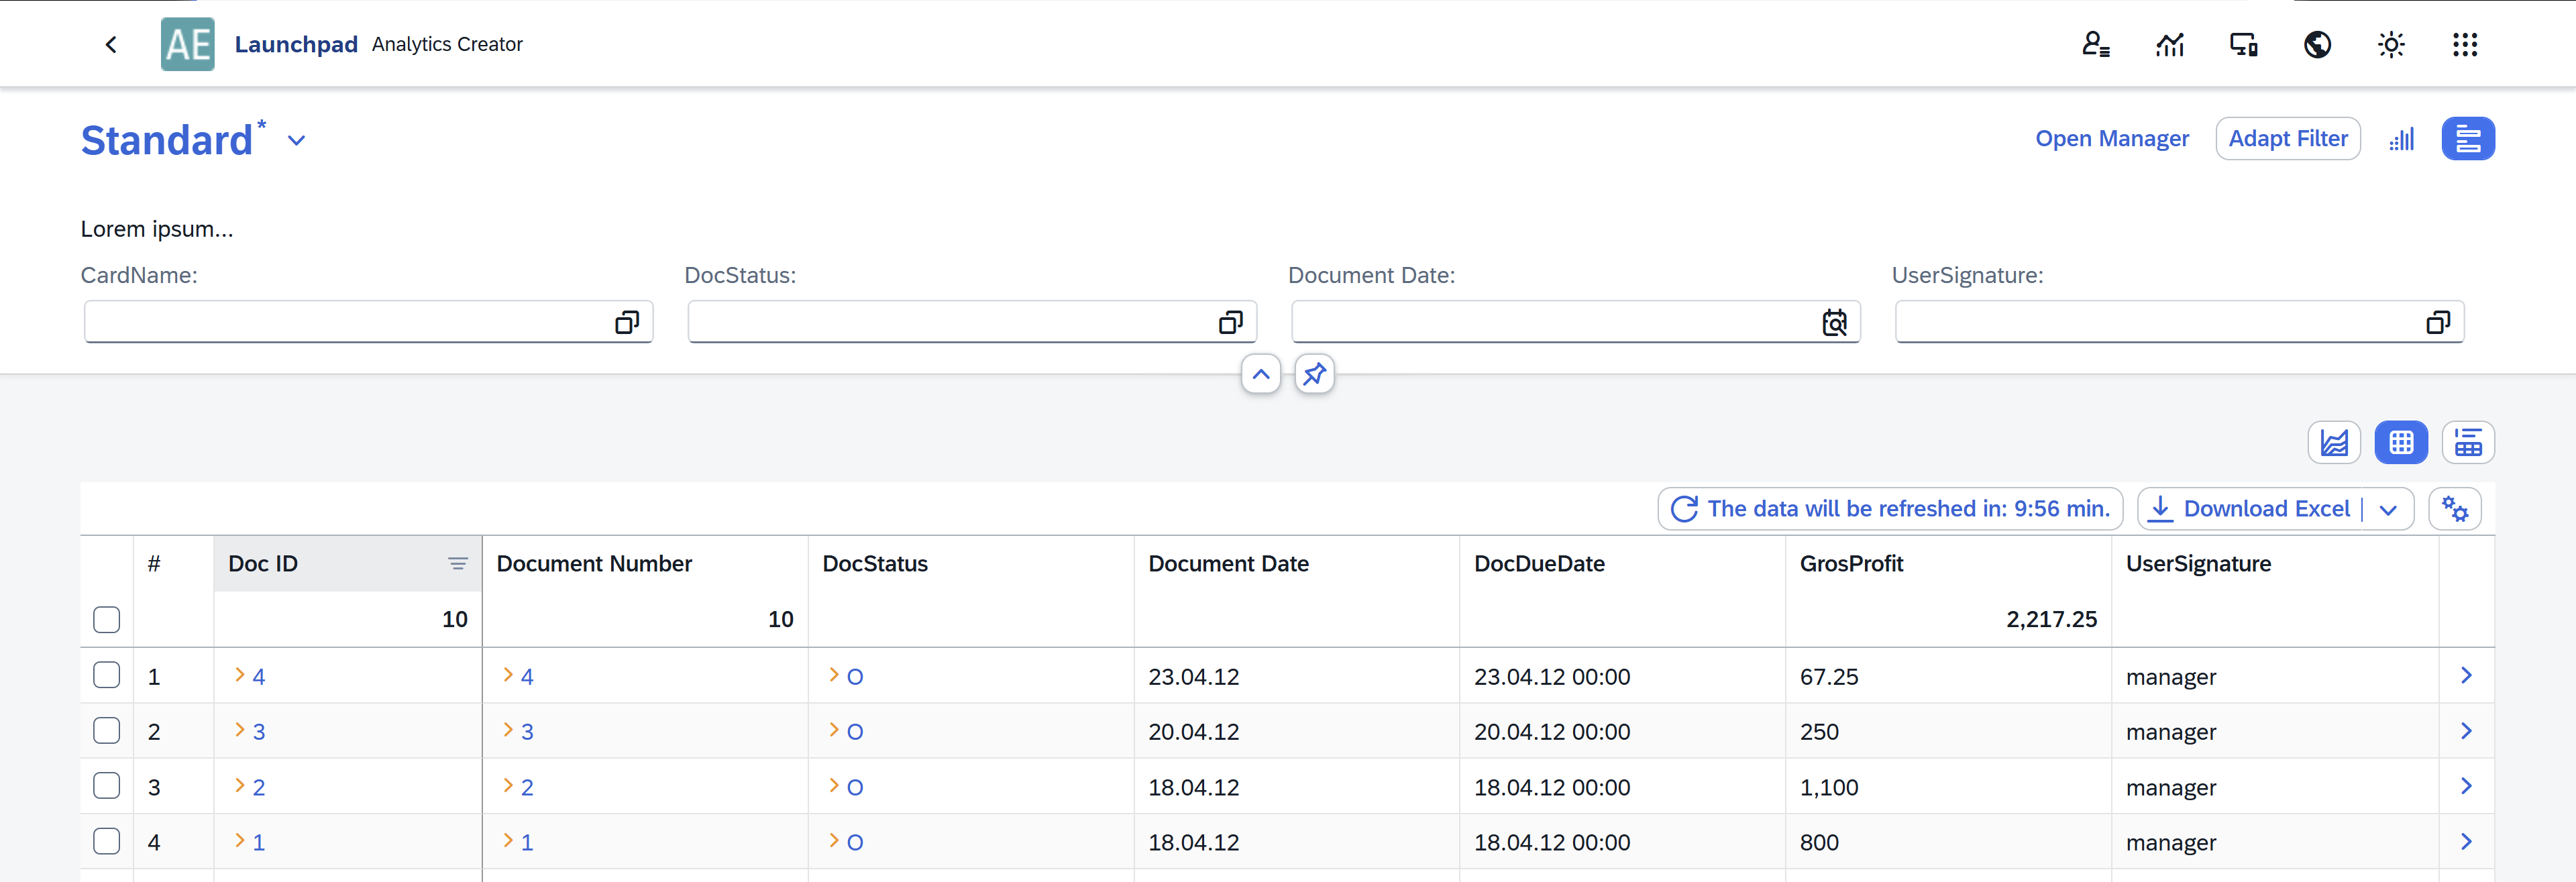
Source Manager is the place where you add and manage the data sources used in your analytics reports. A data source defines where your report data comes from.
There are two types of data sources:
-
Custom Data Sources: You create these yourself by importing a JSON file, entering your own SQL statement, or adding an OData endpoint (a web service URL that provides data).
-
Predefined Data Sources: These are added automatically when you install a plugin. They are ready to use, but you can’t edit them. You can easily identify them by spotting a plugin icon next to the source name.
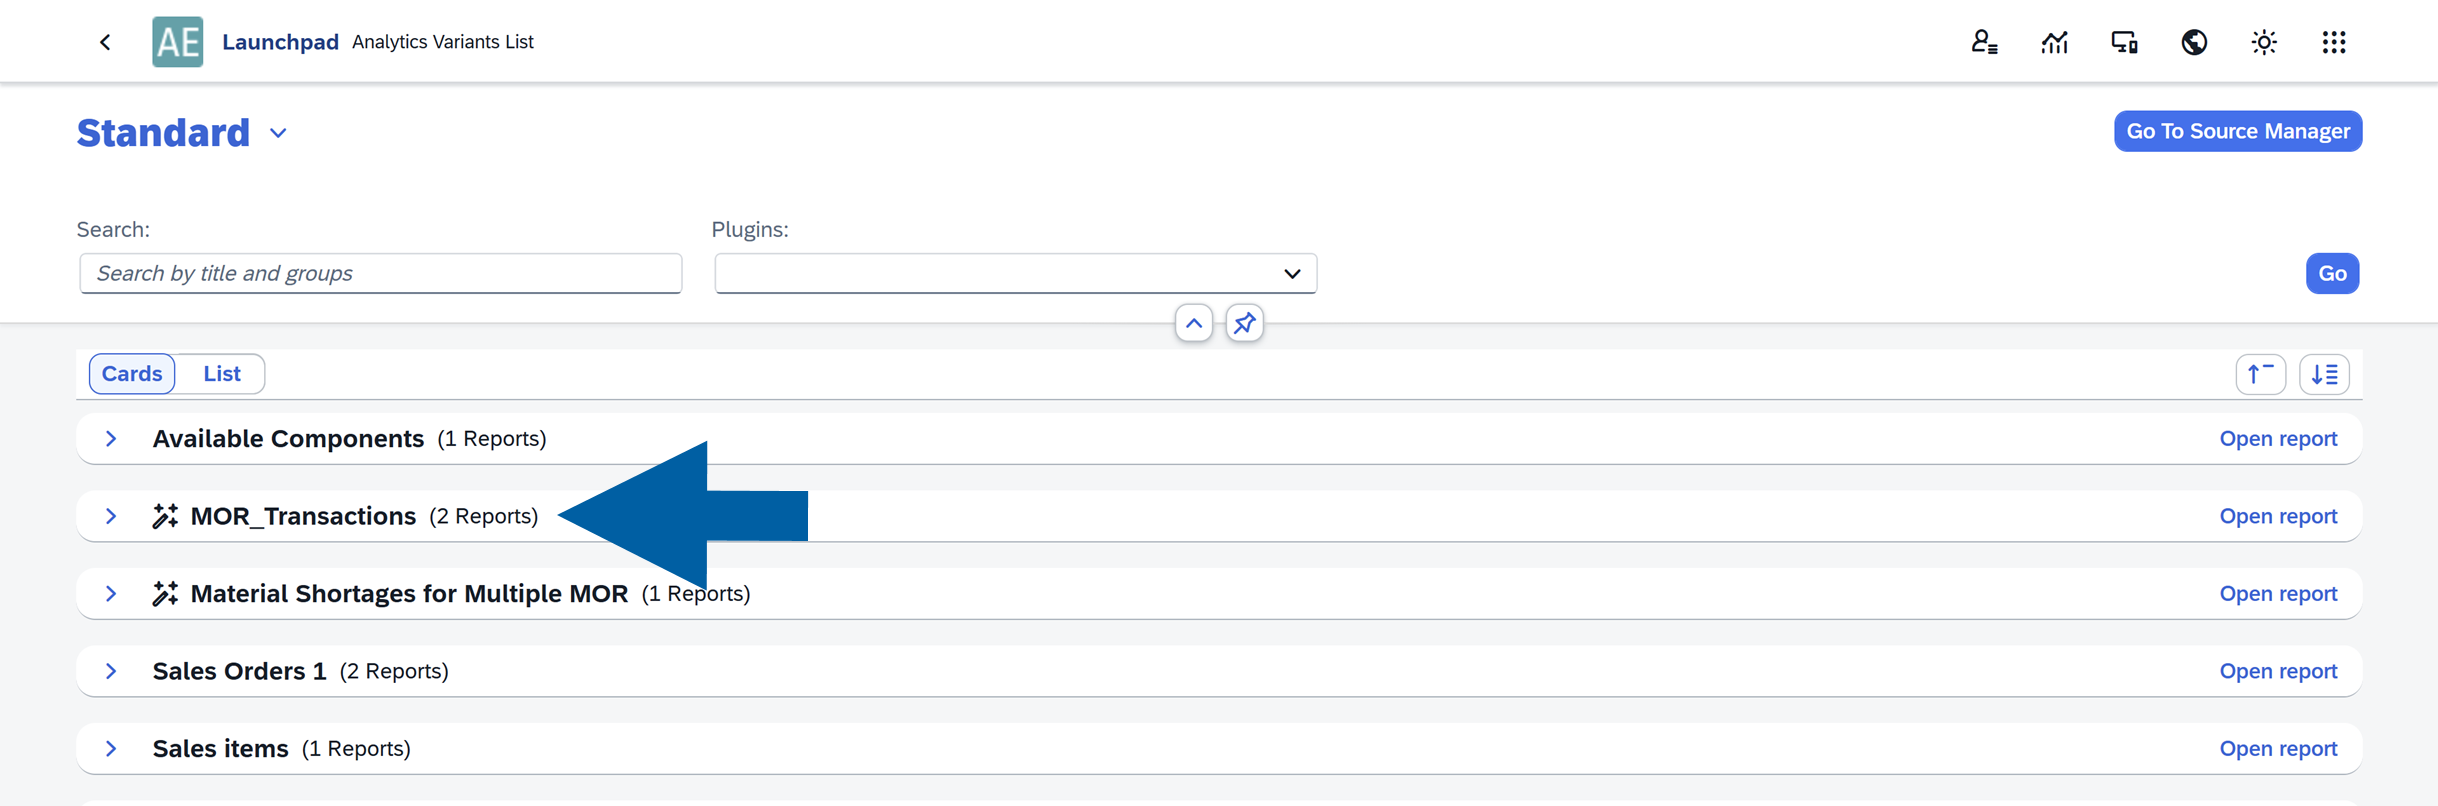
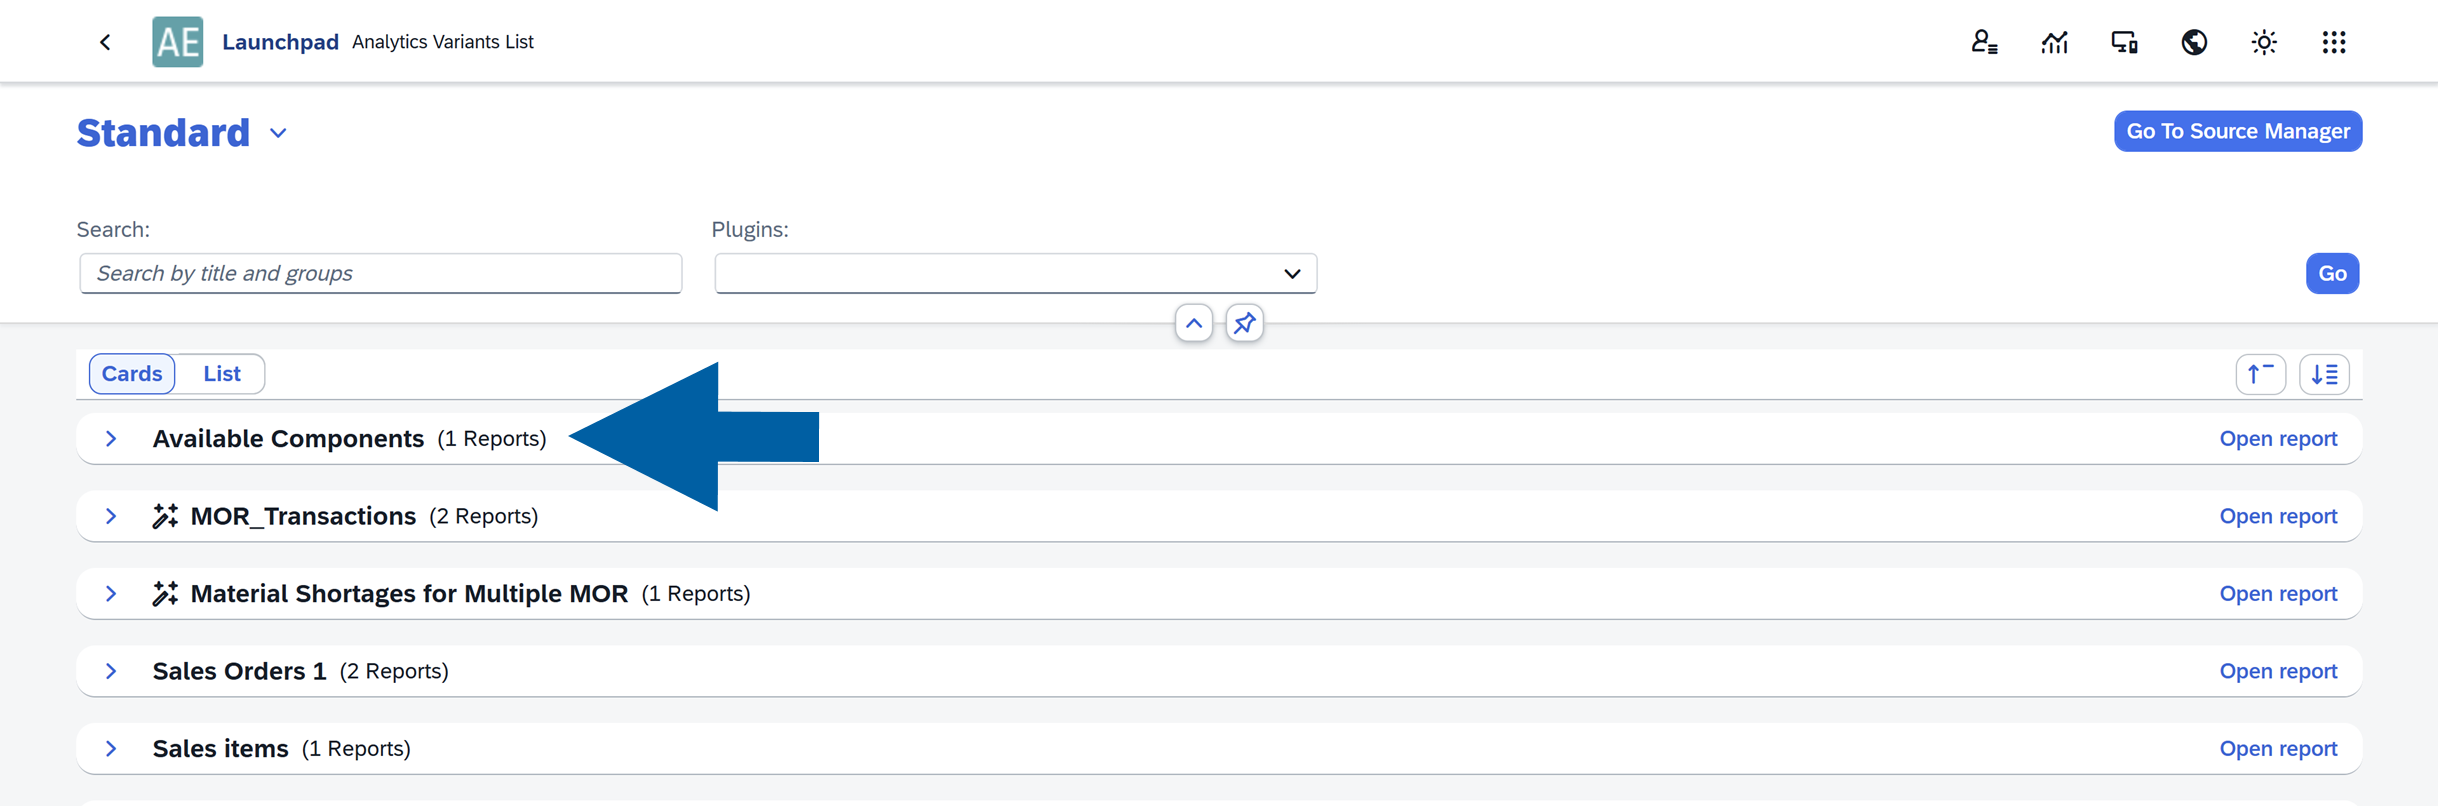
Access Source Manager
You can access Source Manager, following these steps:
-
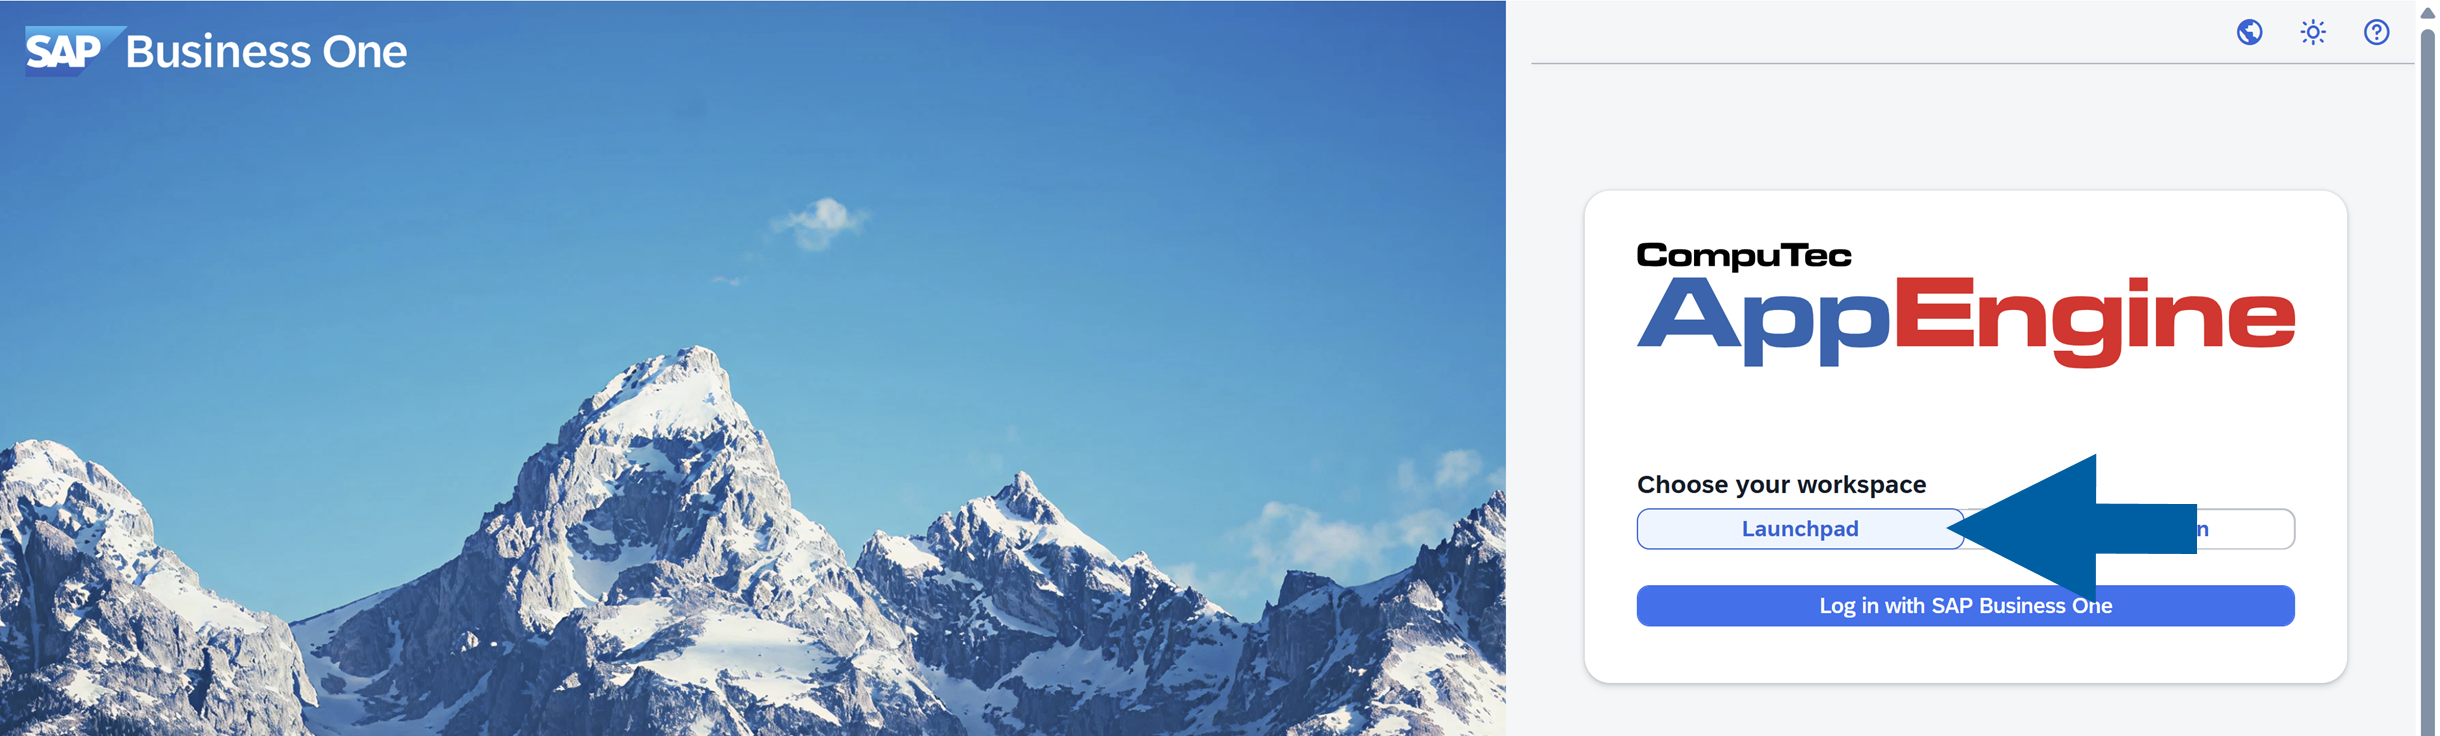
Log in to CompuTec AppEngine Launchpad.
-
Click the Analytics icon.

-
Click Go to Source Manager.
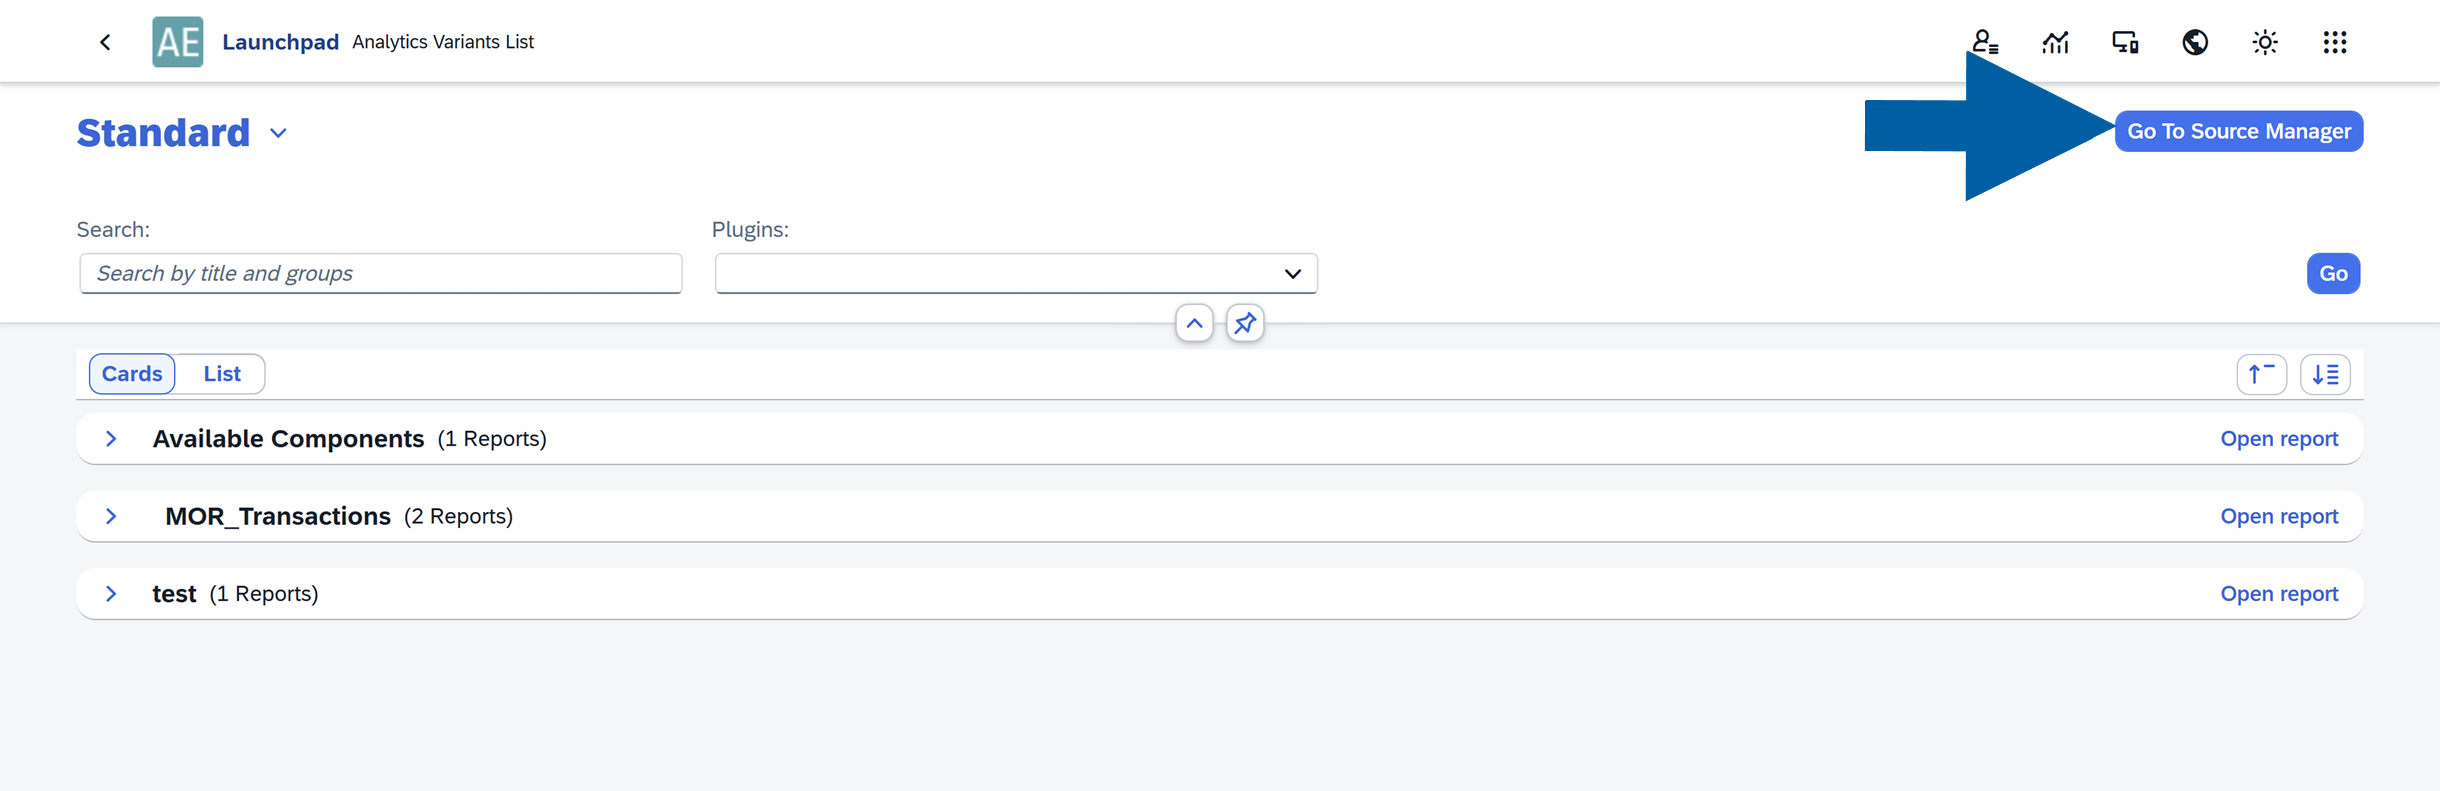
-
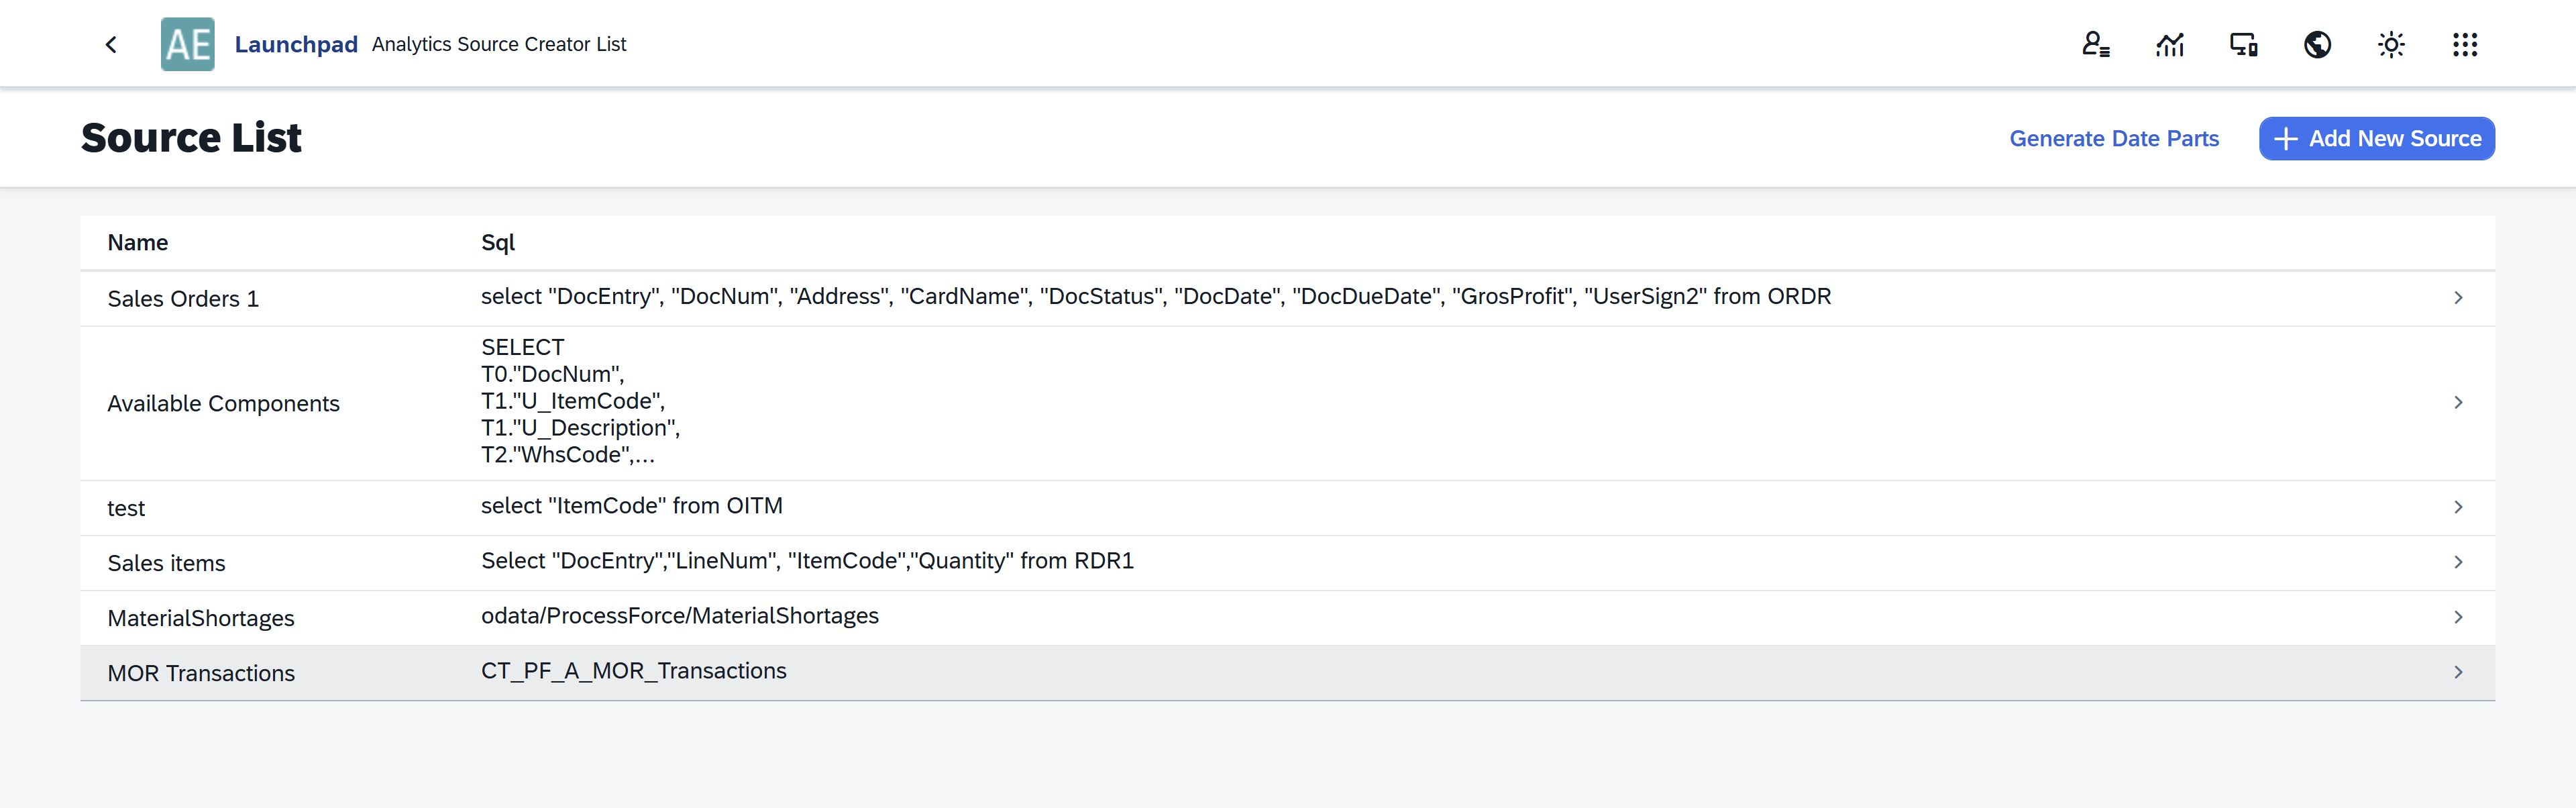
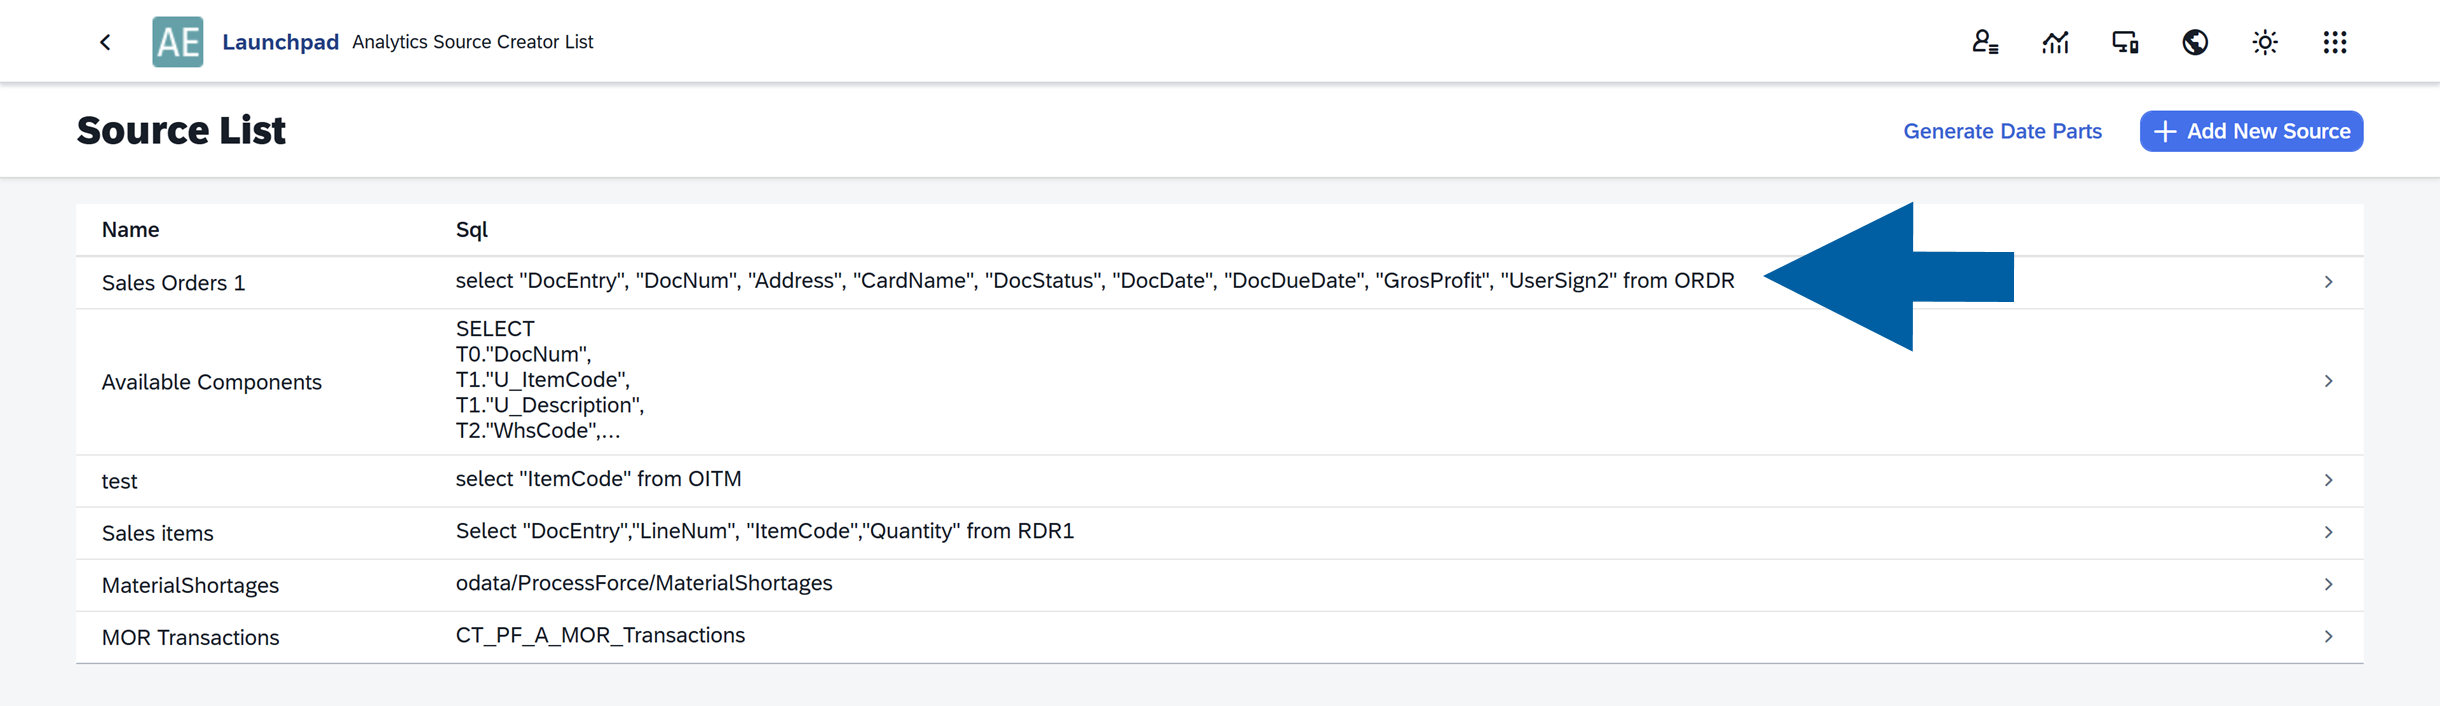
Done! You will now see a list of all available data sources. From here, you can:
- Add a new data source: Create a new source of data to use in your reports. Data can be added using an SQL statement, an OData endpoint, or by importing a JSON file.
- Edit existing sources: Modify existing data sources to adjust them to your reporting needs.
- Generate data parts: Use this option when a date field is configured to use Date Parts. The system generates additional date-related fields (such as year, month, or day) for a selected date range, based on the scope you define.
Add a source
To add a new source, follow these steps:
-
Log in to CompuTec AppEngine Launchpad.
-
Click the Analytics icon.
-
Click Go to Source Manager.
-
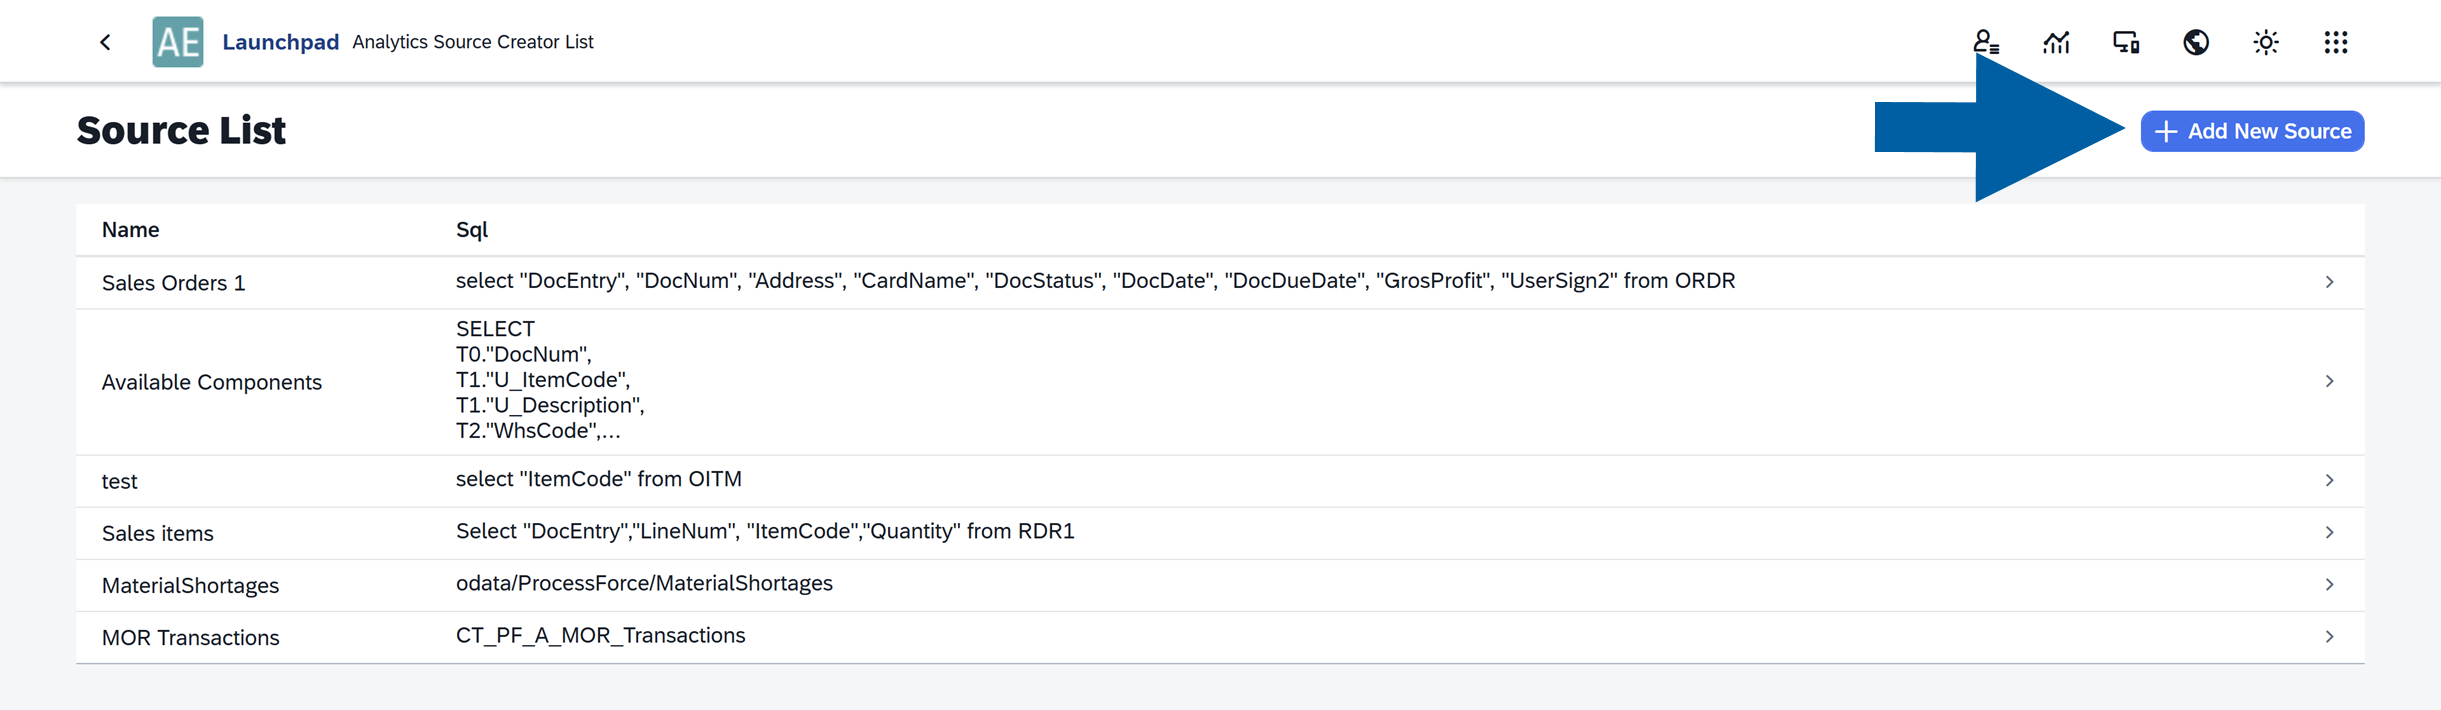
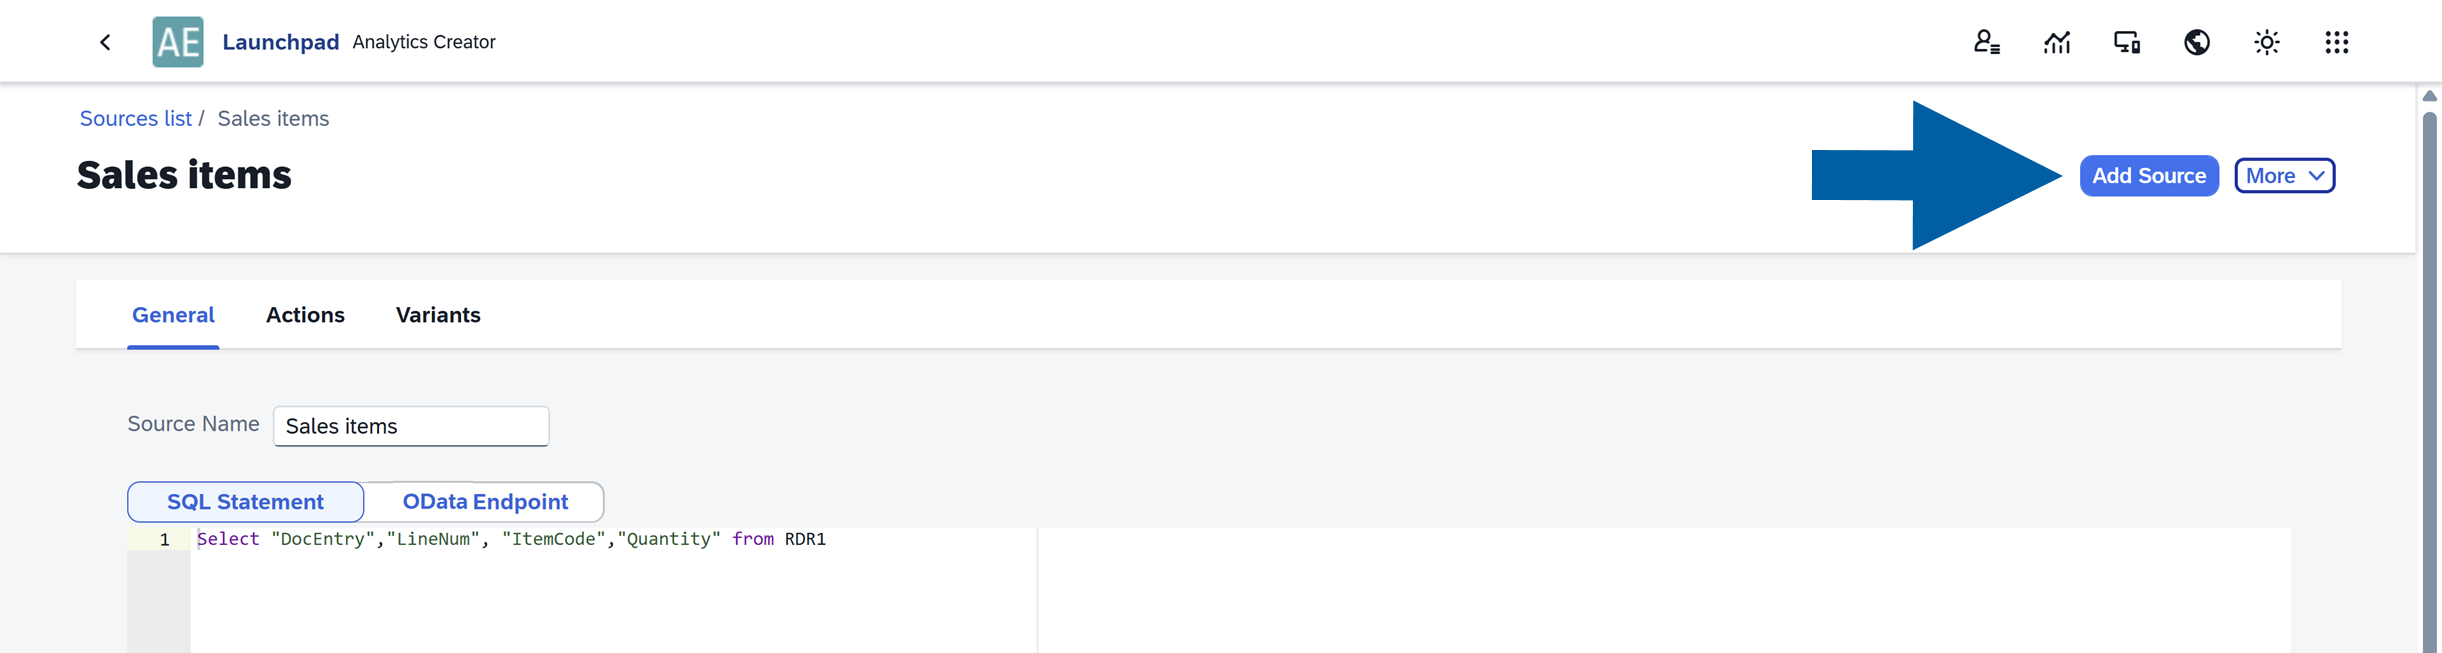
Here you can see the list of all your data sources. Click + Add New Source.
-
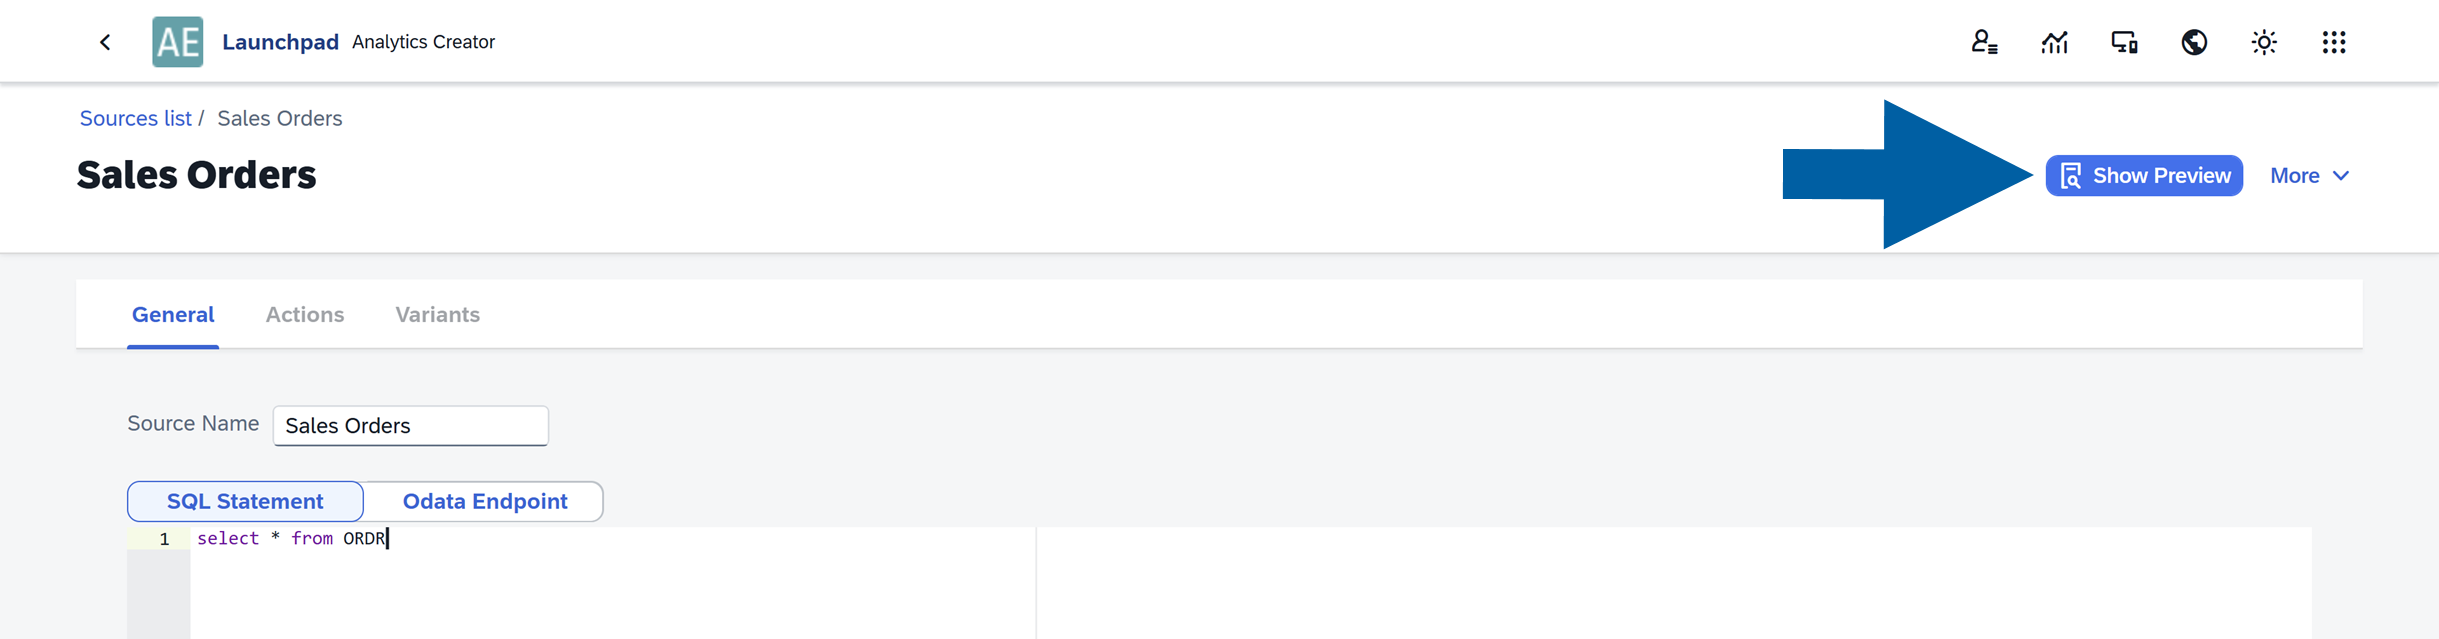
Enter the source name.
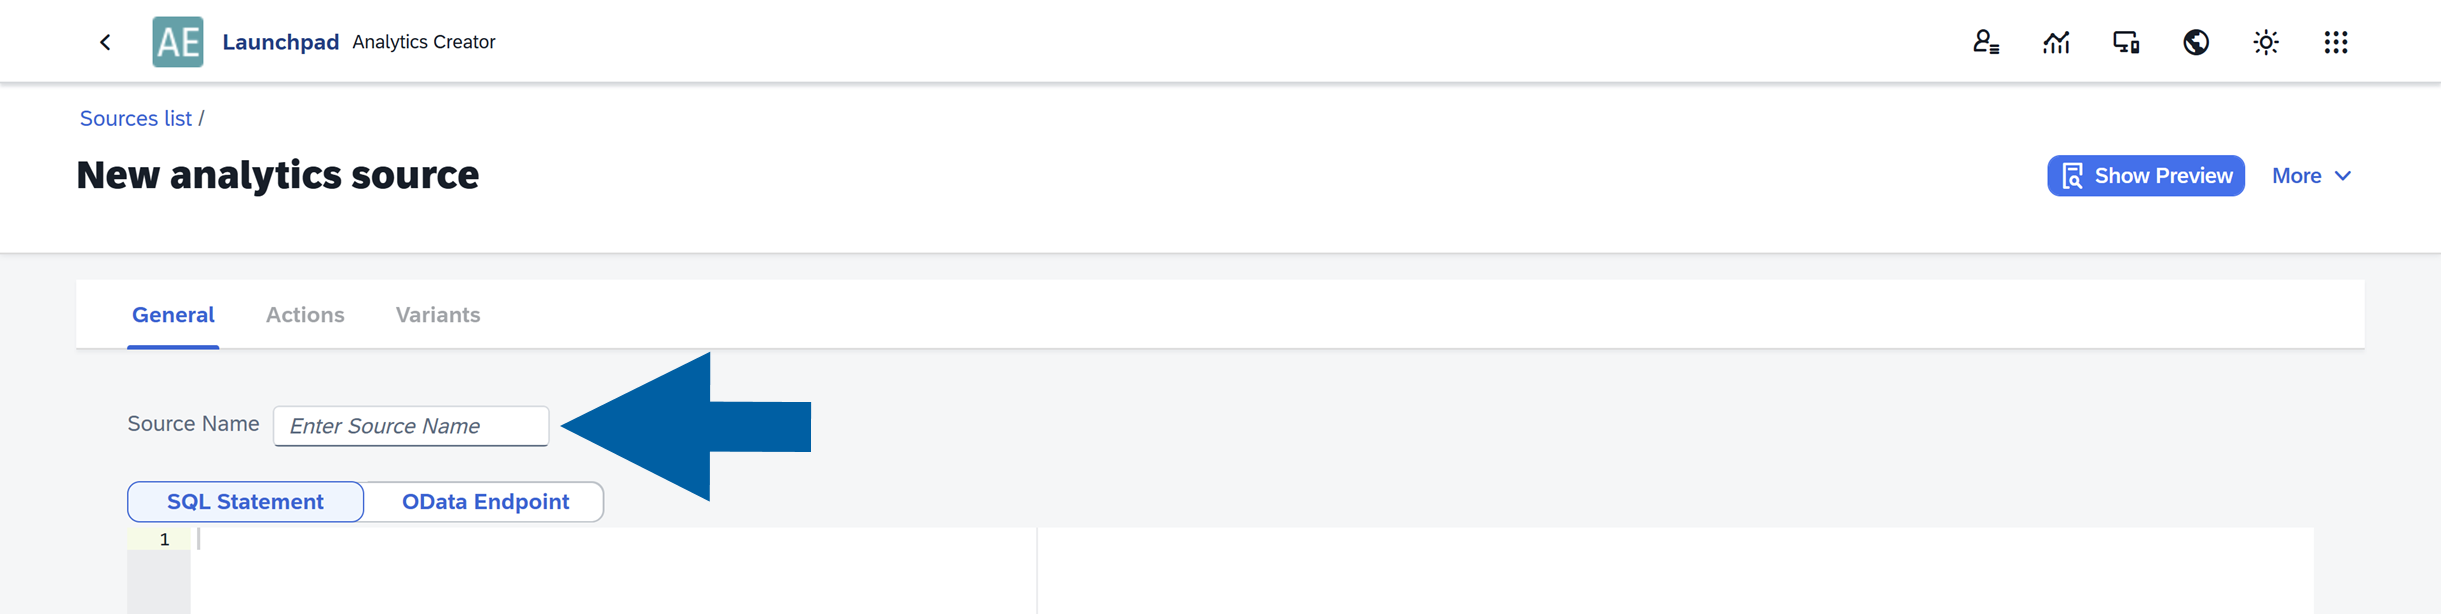
-
Now you can add your own SQL Statement or OData Endpoint.
 info
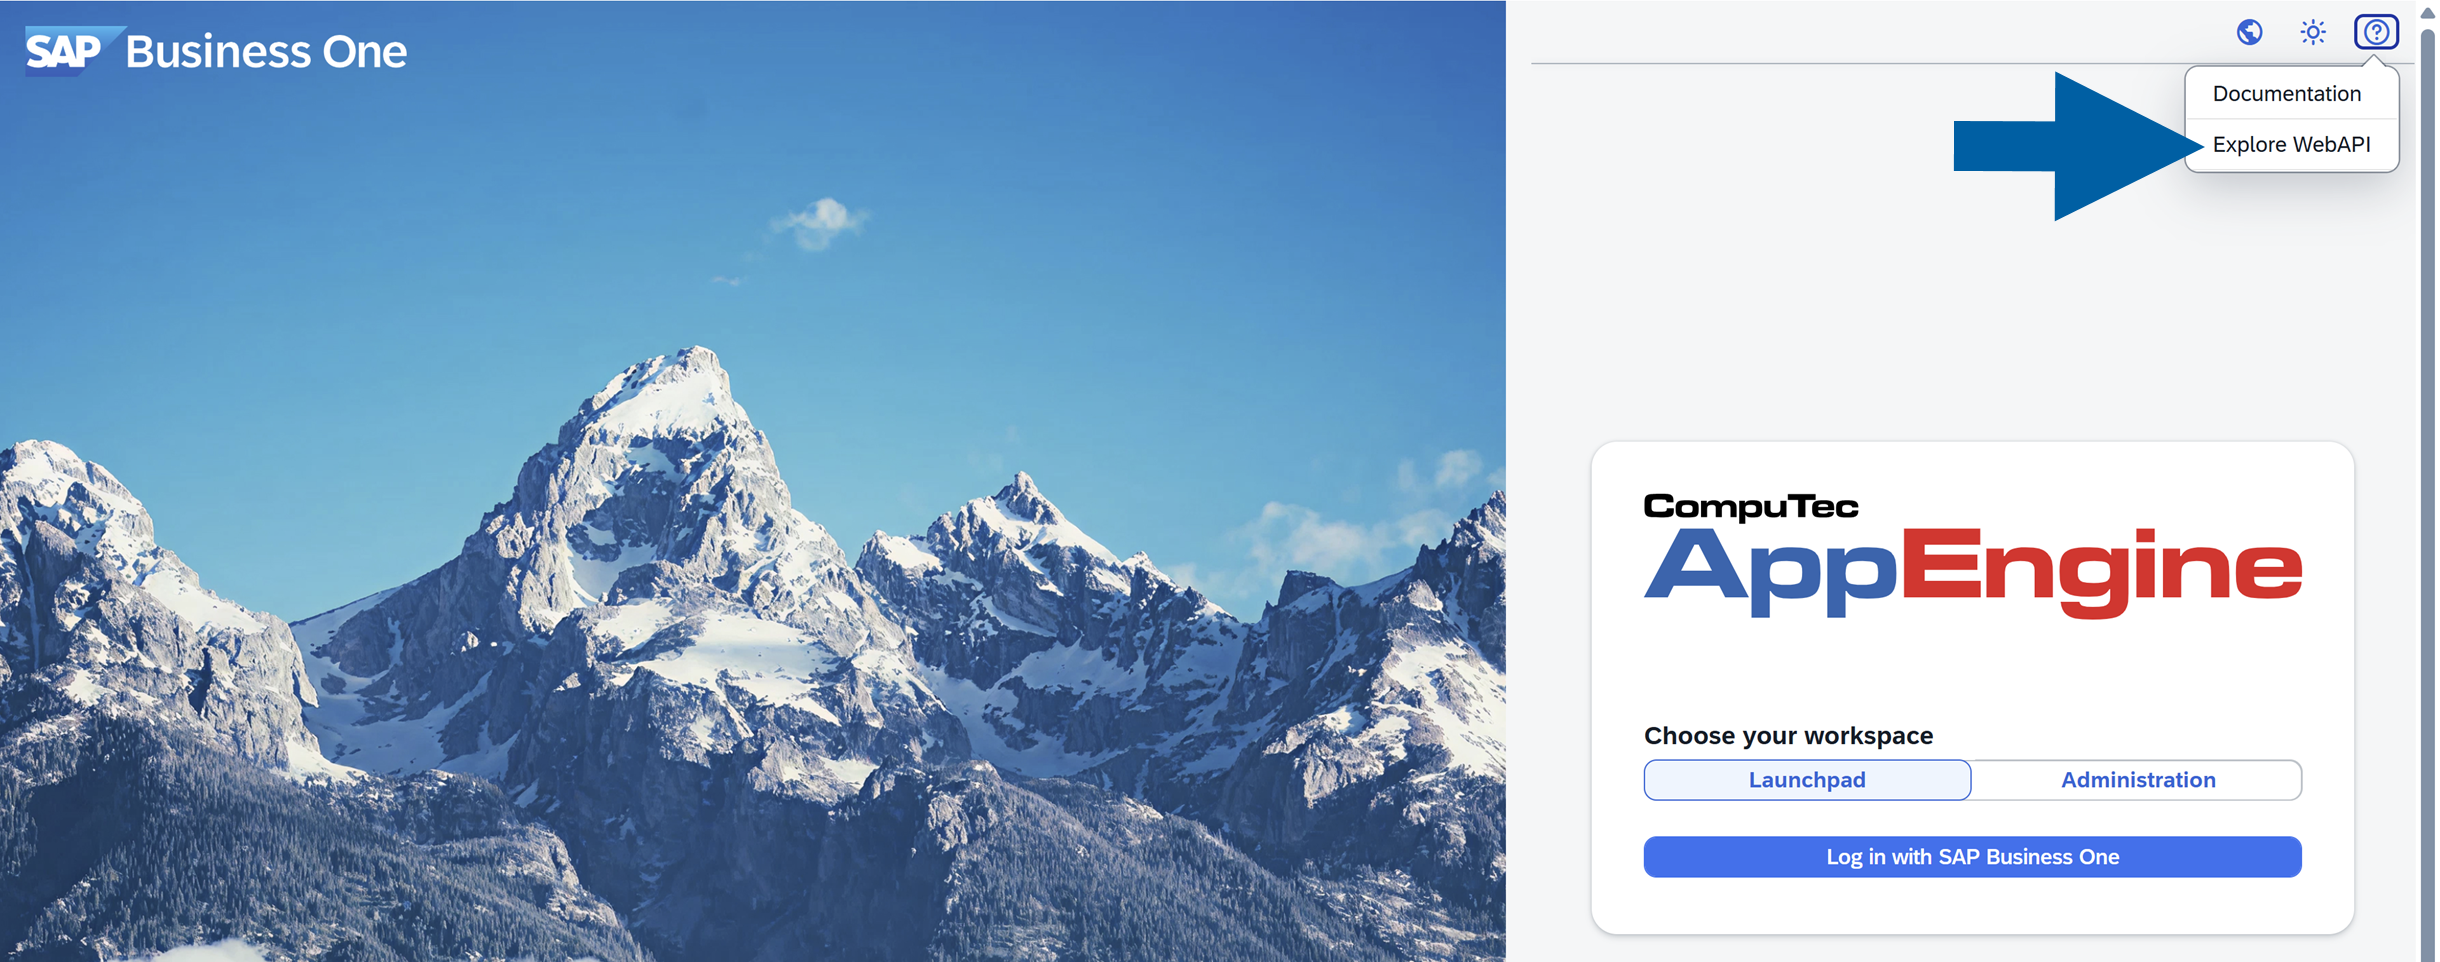
infoIf you want to find OData endpoints, you can use our WebAPI documentation. You can find it in the CompuTec AppEngine login screen after clicking the help icon in the upper right corner and selecting Explore WebAPI.
After selecting a definition from the list, you cand find the OData endpoints you can use in Source Manager when creating a new data source.
Just make sure that it returns correct List OData format. Example:
odata/ProcessForce/AcceptanceQualityLimit.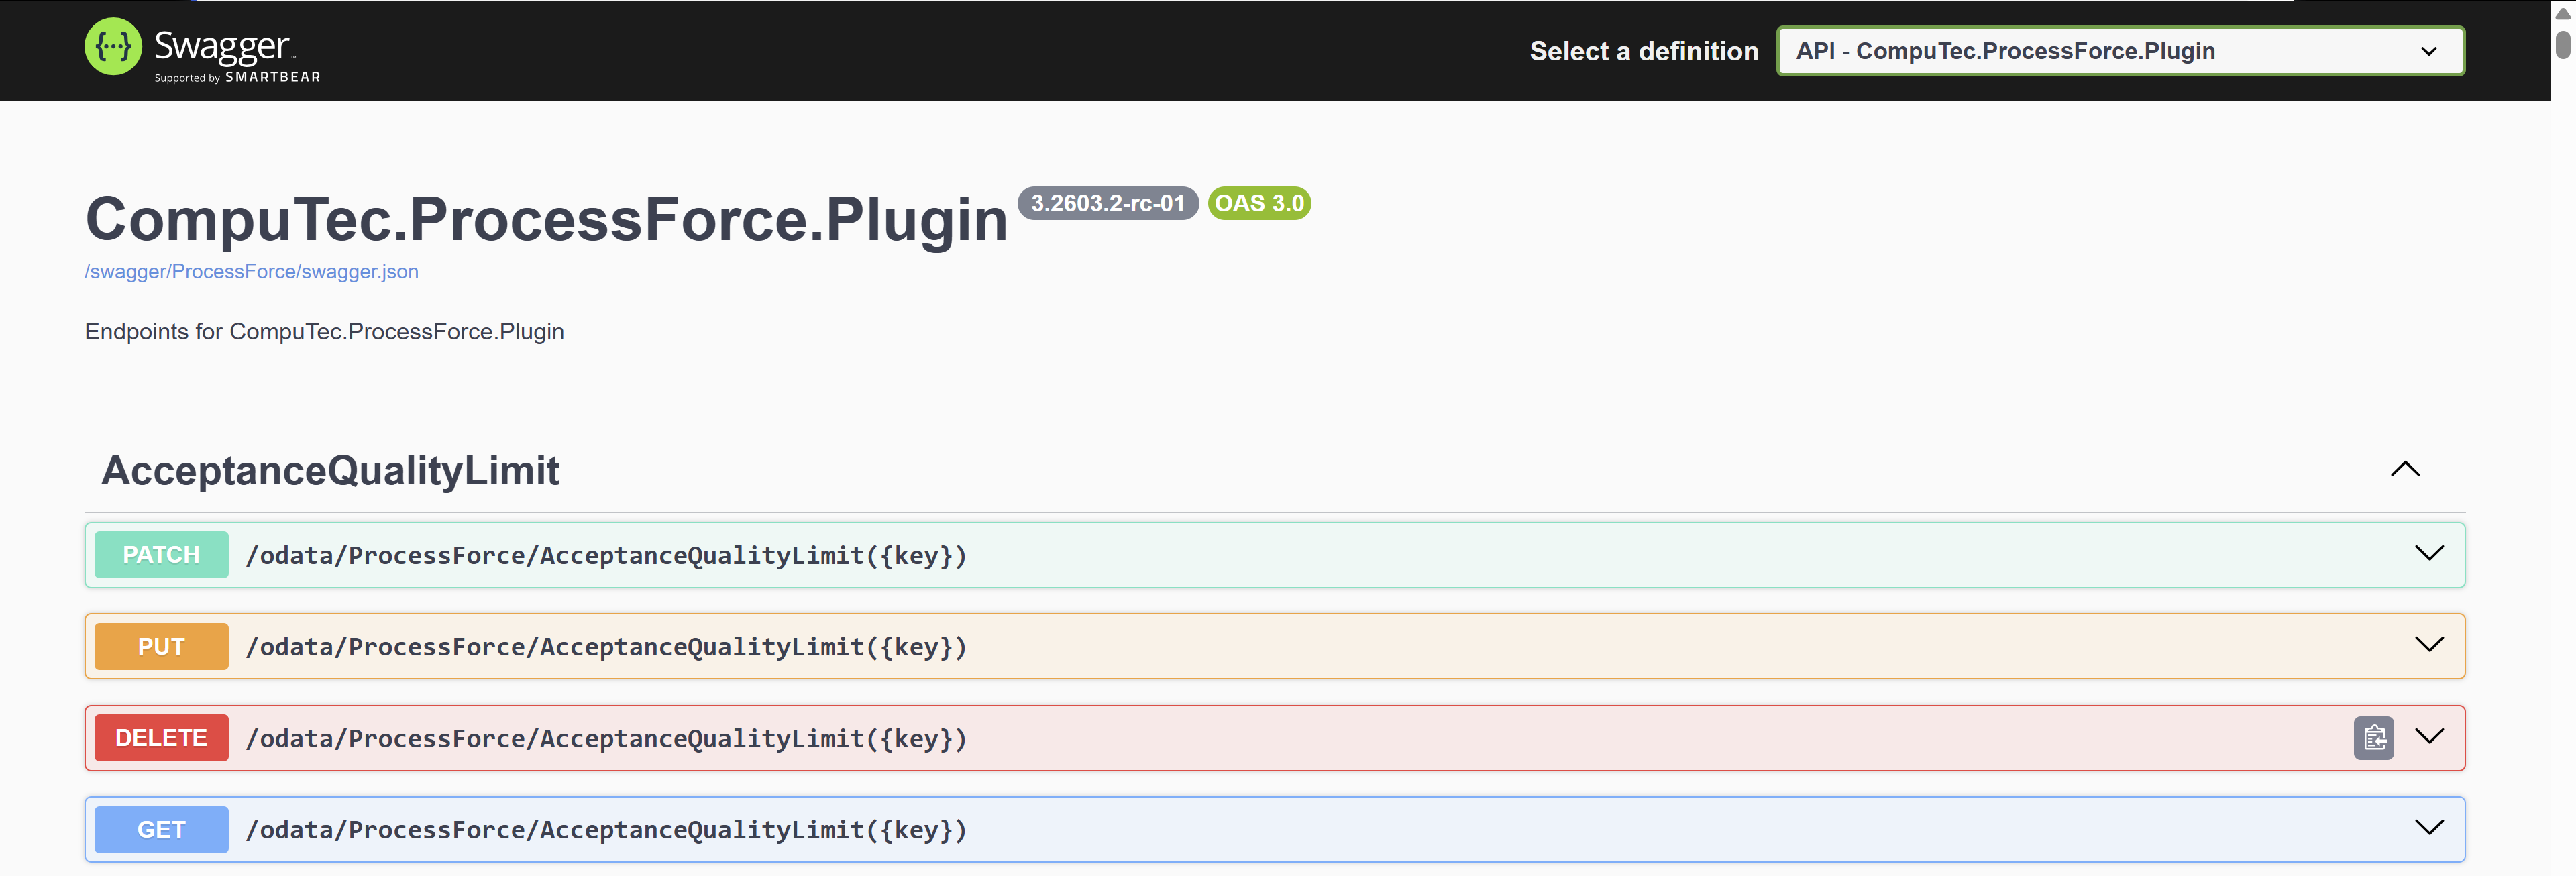
-
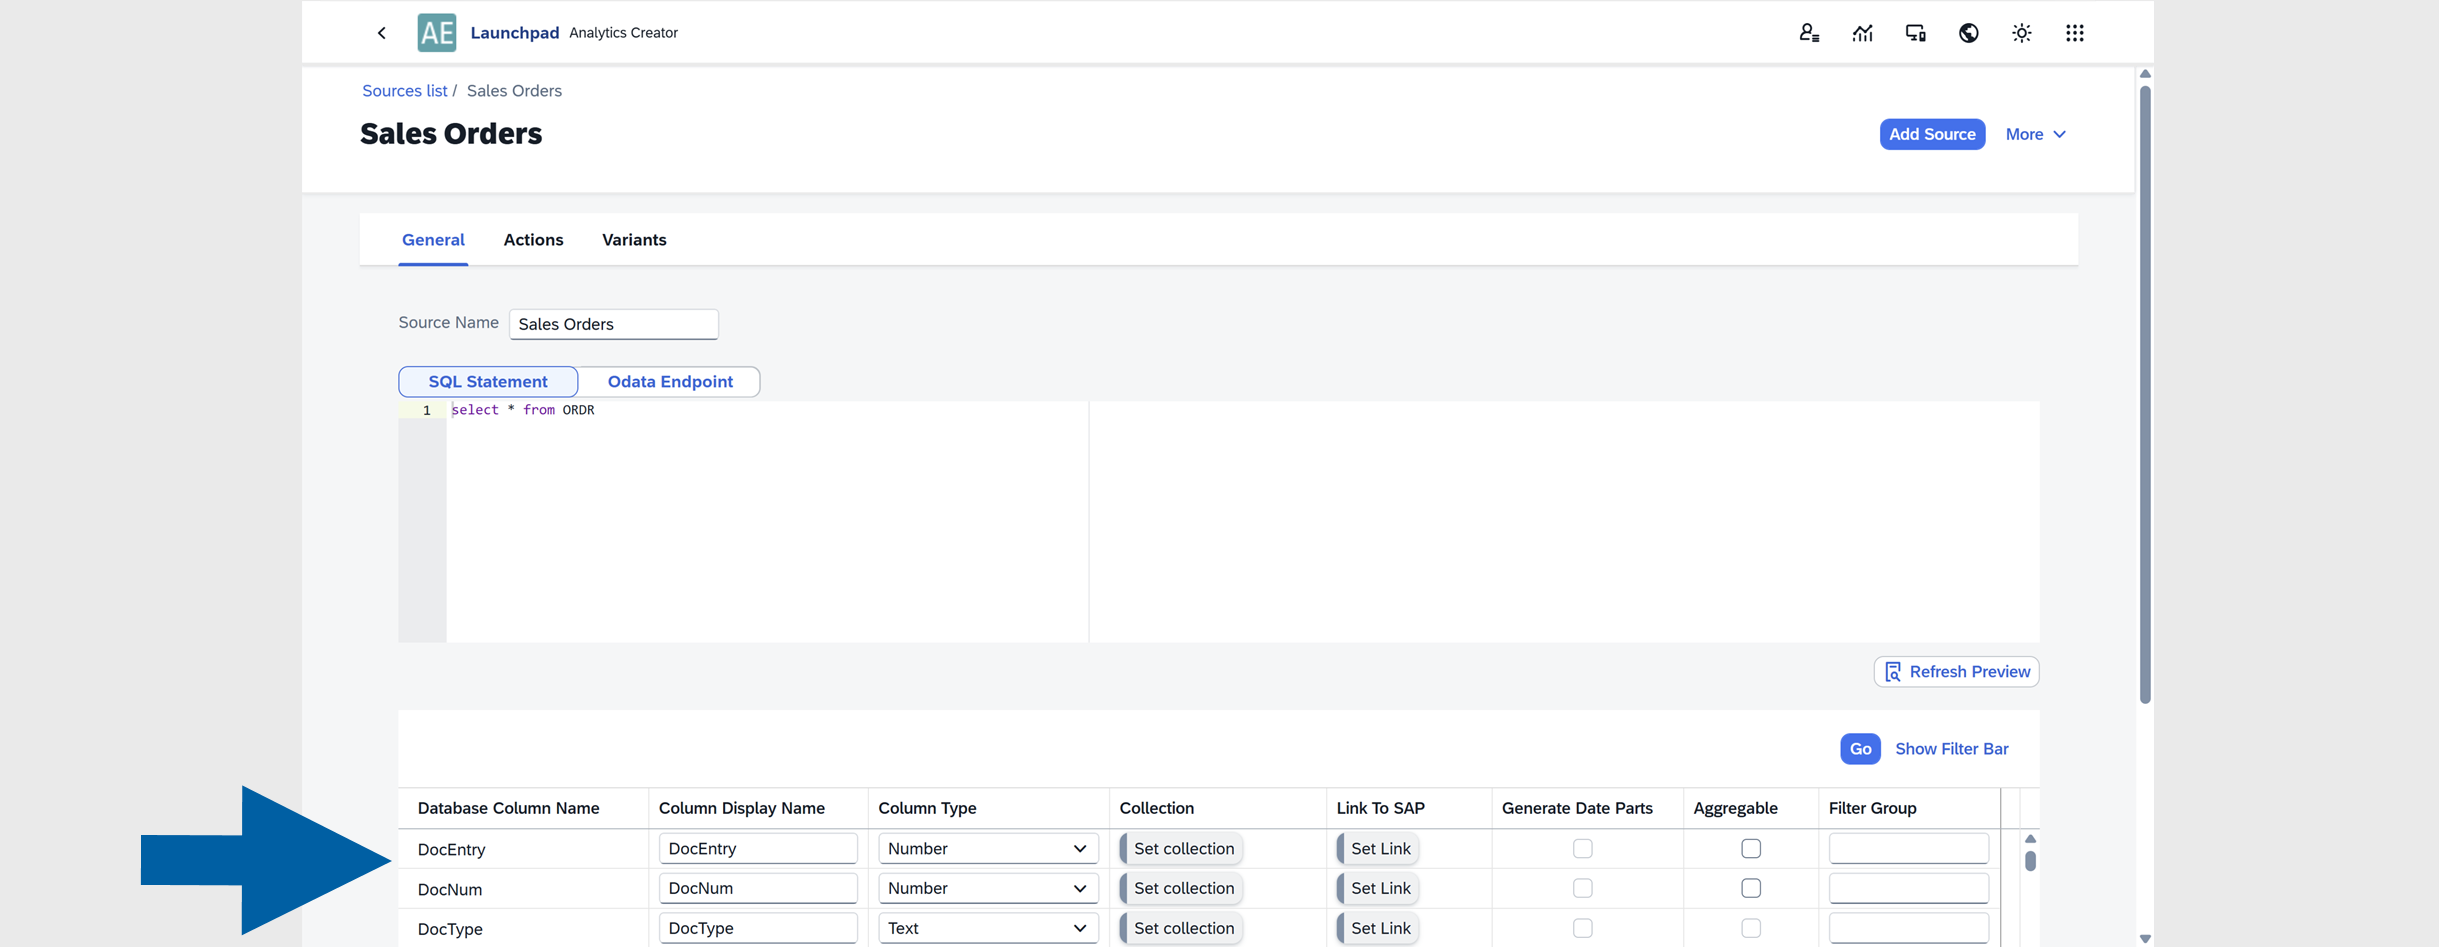
Click Show Preview to check how your data looks in the reports.
-
In preview mode, you can adjust how your data appears in the analytics report. This allows you to review and refine the presentation of the data before it is used in reports.
 info
infoIn this article, you can learn more about how to edit your table and chart settings.
-
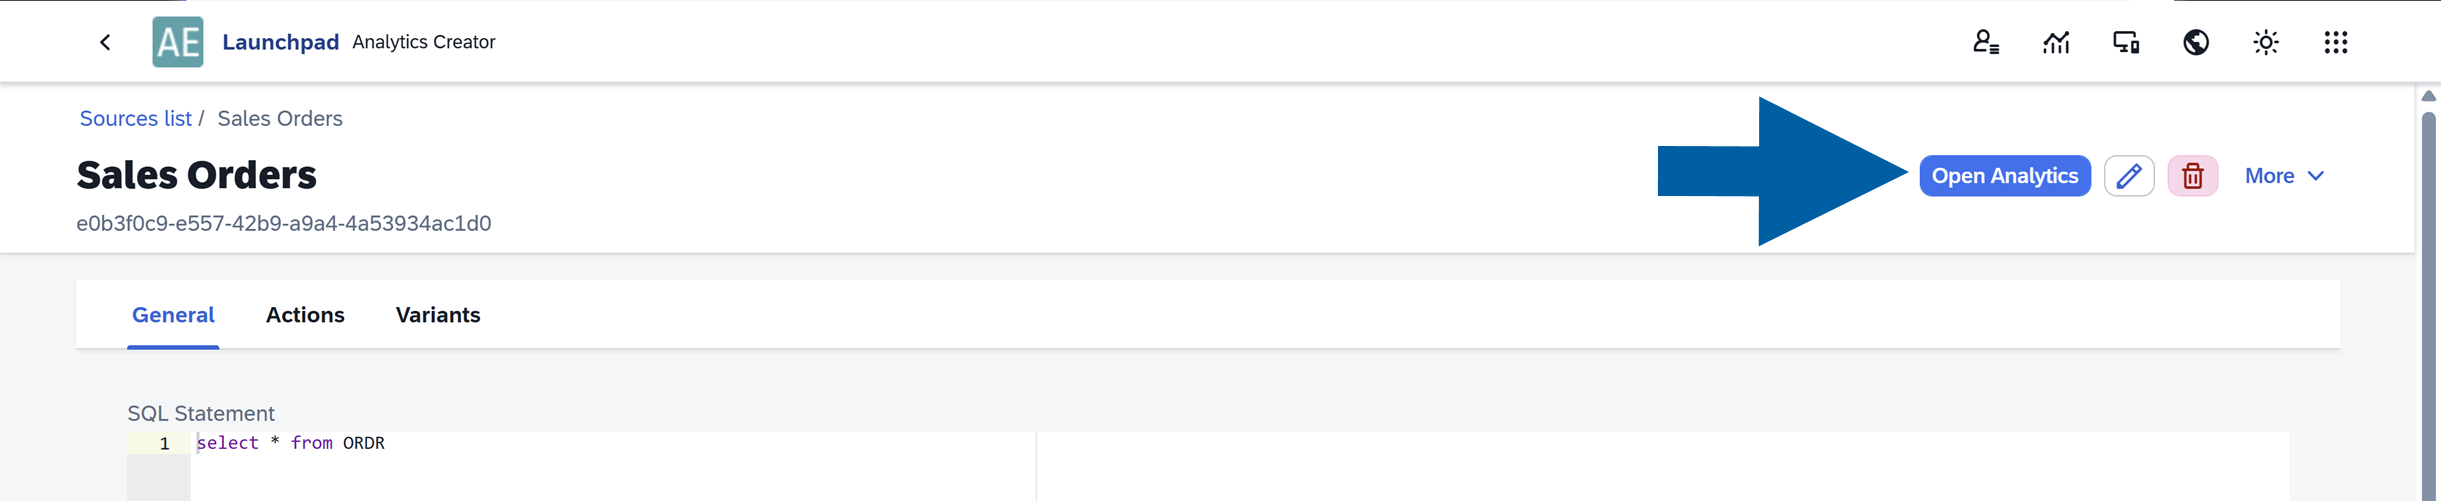
If all the data is correct, click Add Source.

-
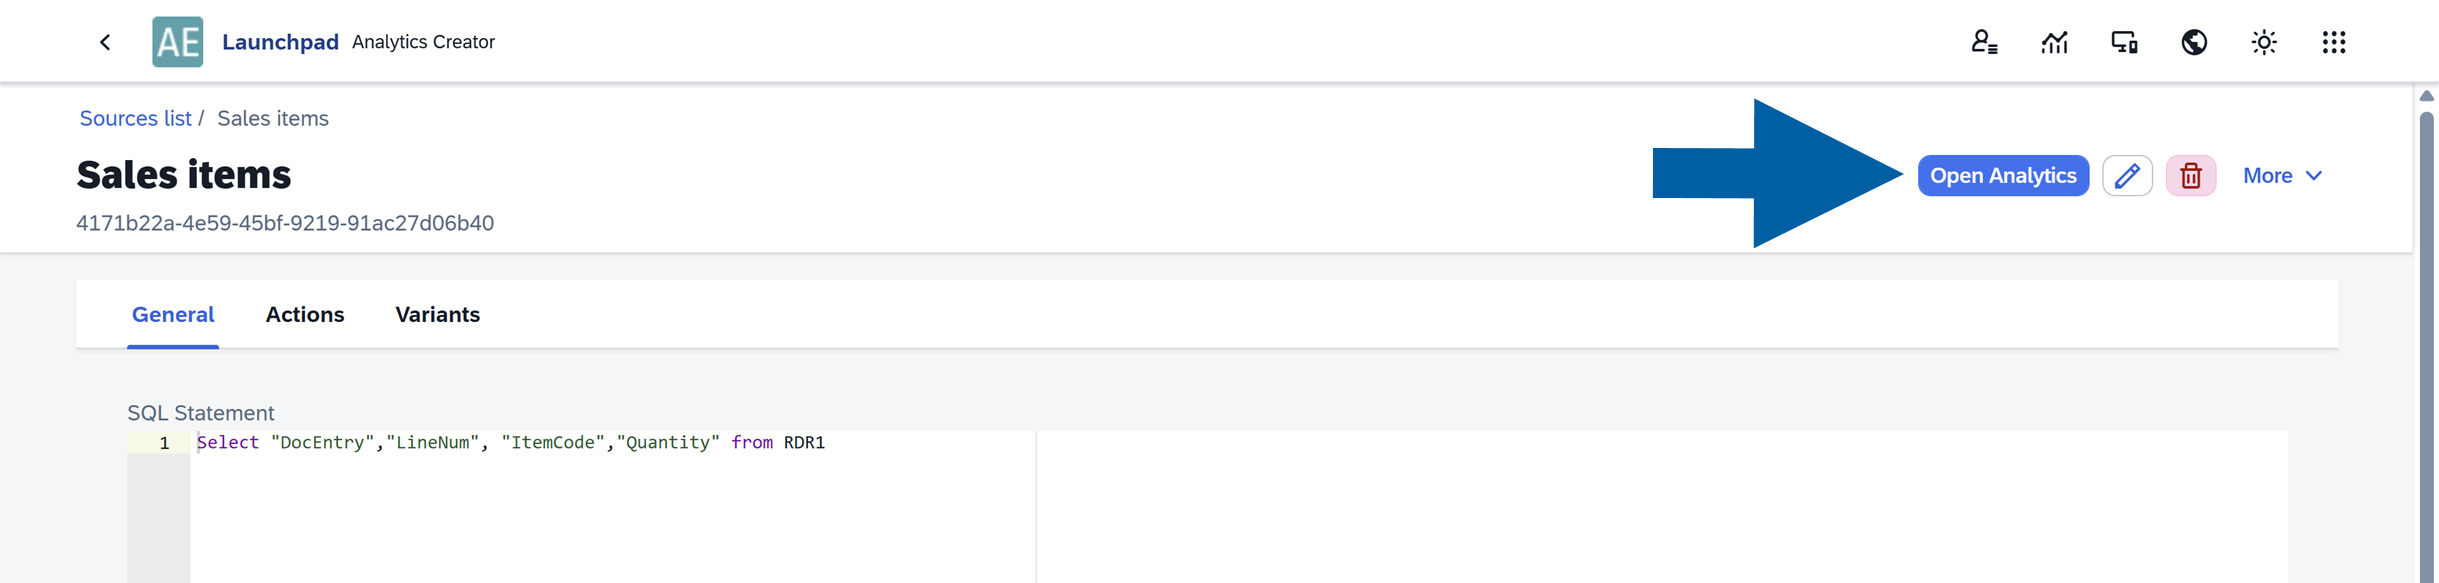
After you add a source, you can click Open Analytics to see your data in reports.
-
Done! You’ve successfully added a new data source.
Import a source
To import a new source from a Json file, follow these steps:
-
Log in to CompuTec AppEngine Launchpad.
-
Click the Analytics icon.
-
Click Go to Source Manager.
-
Here you can see the list of all your data sources. Click + Add new Source.
-
Enter the source name.
-
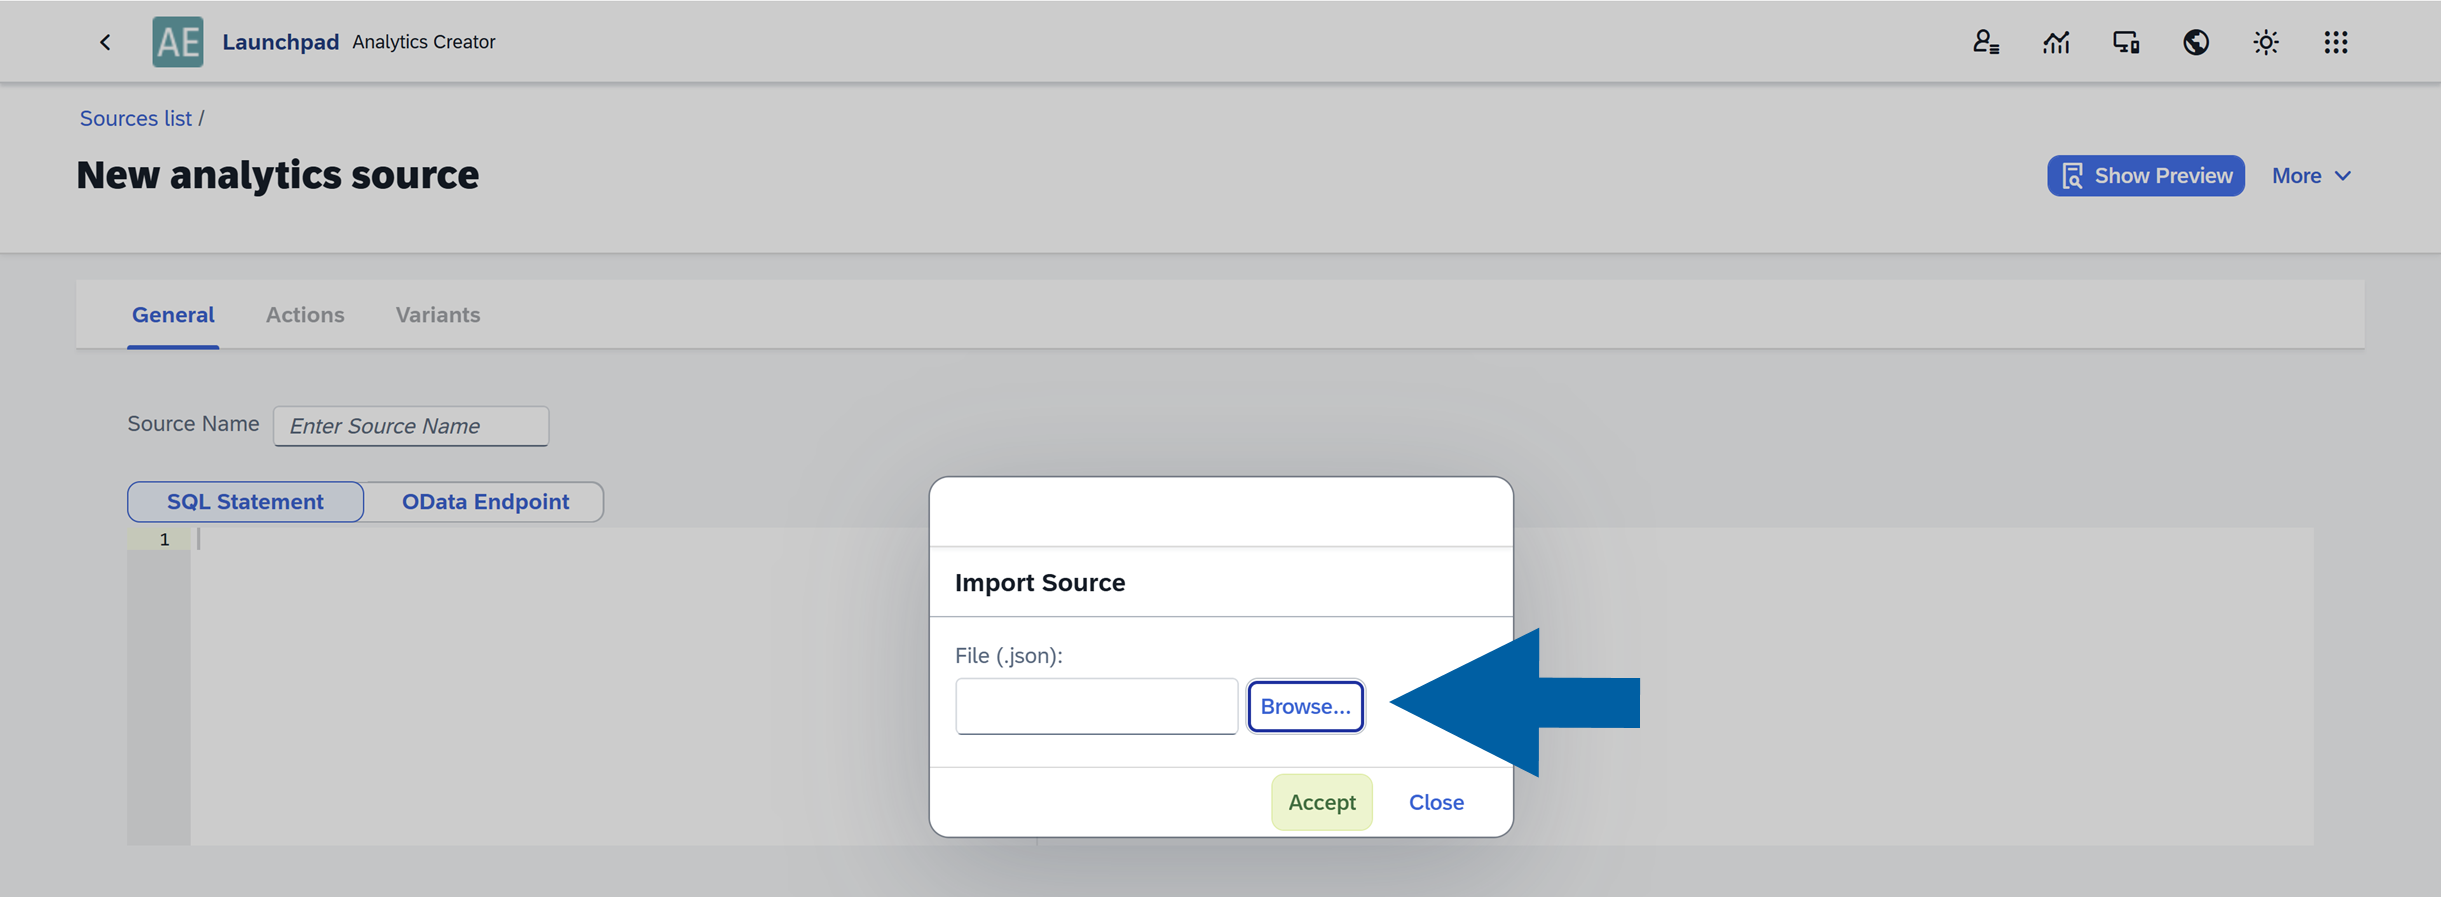
Click More and choose Import from the list.

-
Select the Json file and click Accept.
-
Check the Preview of your reports and edit it if you need to.
 info
infoIn this article, you can learn more about how to edit your table and chart settings.
-
If all the data is correct, click Add Source.
-
After you add a source, you can click Open Analytics to see your data in reports.
-
Done! You’ve successfully added a new data source.
Edit a source
To edit an existing data source, follow these steps:
-
Log in to CompuTec AppEngine Launchpad.
-
Click the Analytics icon.
-
Click Go to Source Manager.
-
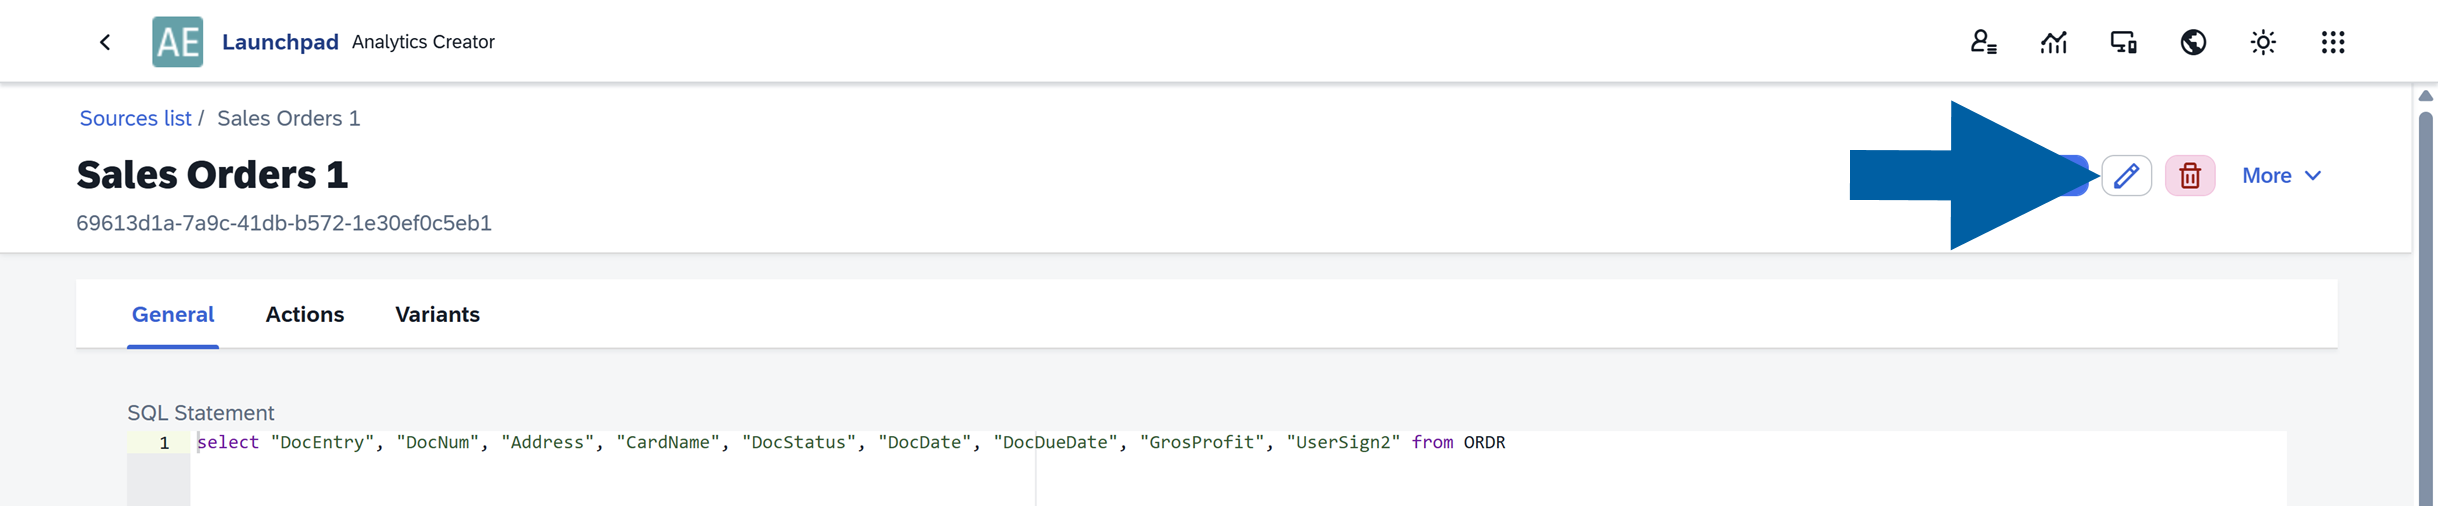
Here you can see the list of all your data sources. Choose the source you want to edit.
-
Click the edit icon to enter the edit mode.
-
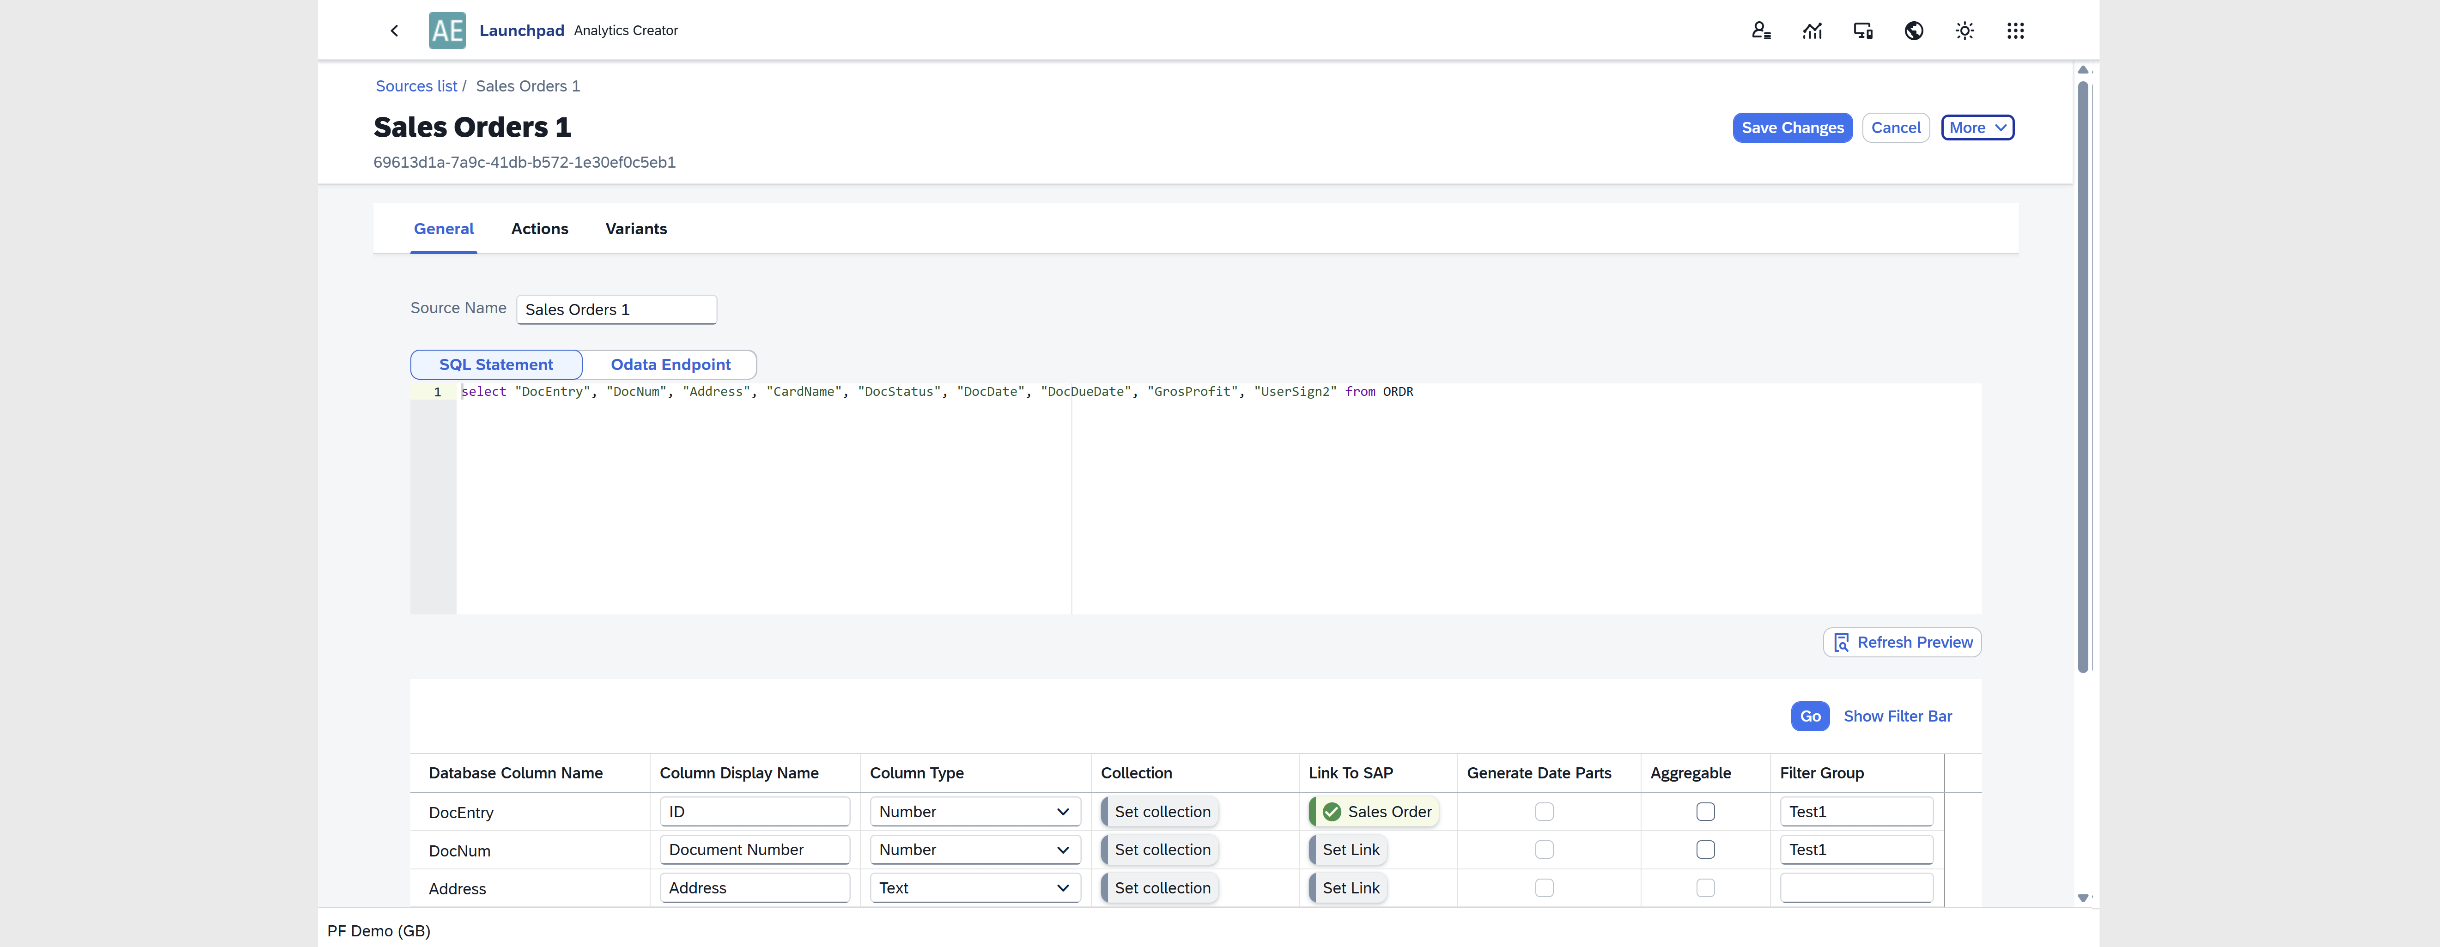
In edit mode, you can modify the table and chart settings, and manage analytics actions and variants. Read more
-
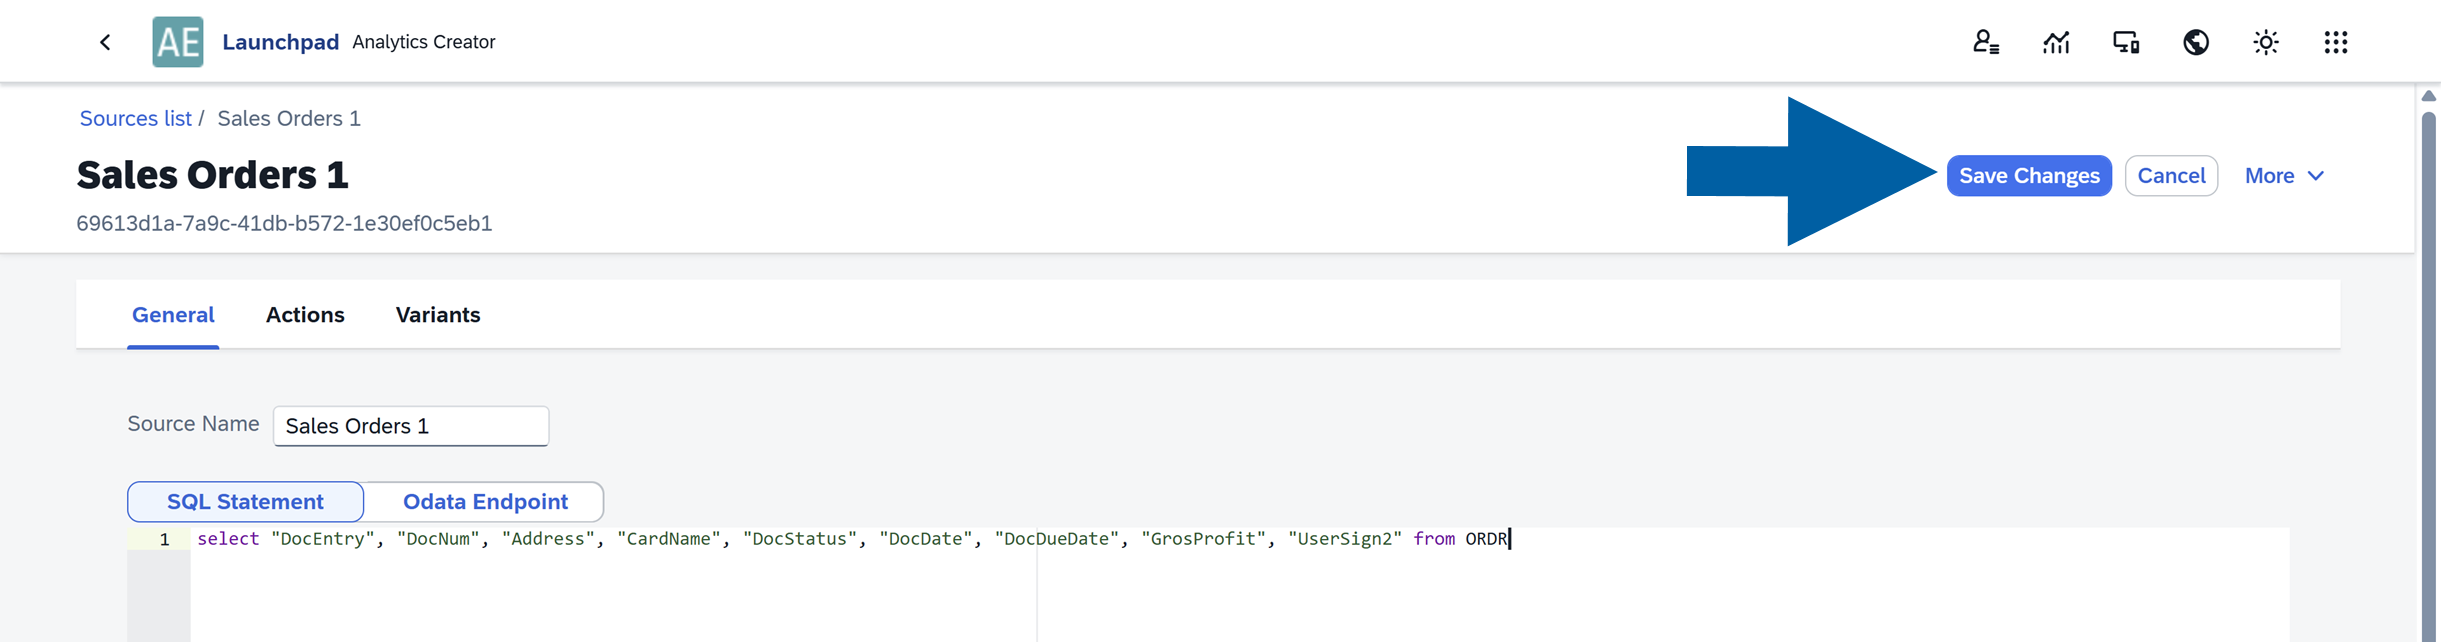
After editing your settings, click Save Changes.
-
Your changes are now saved and available in Analytics reports that use this source.